 Search
 English
 中文简体
中文简体 Deutsch
 Español
Content
- 1 Choose the Right Gun Before You Touch the Trigger
- 2 Prepare the Coating and Know the Gun
- 3 Set Air, Fluid, and Fan in That Order
- 4 Hold the Gun Correctly: Distance and Speed Decide
- 5 Fix Common Defects Before You Repaint
- 6 Clean the Gun Before the Paint Dries
- 7 Frequently Asked Questions About Using a Paint Spray Gun
- 7.1 Q1. What PSI should a paint spray gun be set to?
- 7.2 Q2. Why is my spray gun spitting paint?
- 7.3 Q3. How far should you hold a spray gun from the surface?
- 7.4 Q4. Can you spray latex paint with a paint spray gun?
- 7.5 Q5. How much should you thin paint before spraying?
- 7.6 Q6. HVLP or airless: which is better for a beginner?
You have just hung the masking paper, mixed the paint, and pressed the trigger on a spray gun for the first time. The finish comes out blotchy, runs in one corner, and the air fills with a cloud of wasted paint. This is the most common beginning with a spray gun, and the cause is almost never the gun itself. Once you control three things—settings, distance, and cleaning—spraying gives a smoother finish than brushing in a fraction of the time. This guide walks through how to use a paint spray gun from preparation to the final flush.
Choose the Right Gun Before You Touch the Trigger
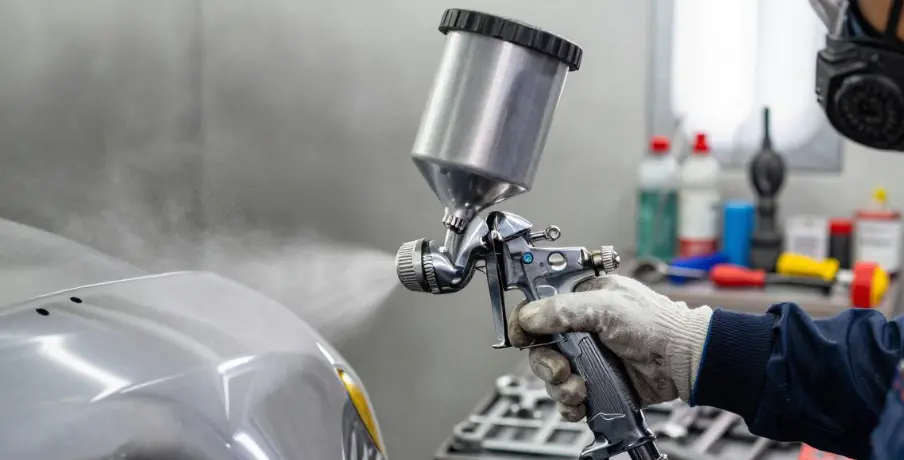
A spray gun is not a universal tool. The feed system decides how much paint you can move, and the atomizing technology decides how fine the finish will be. For most furniture, trim, and automotive touch-up work, a gravity-feed HVLP gun is the most forgiving choice.
| Feed type | Best used for | Typical cup capacity | Practical notes |
|---|---|---|---|
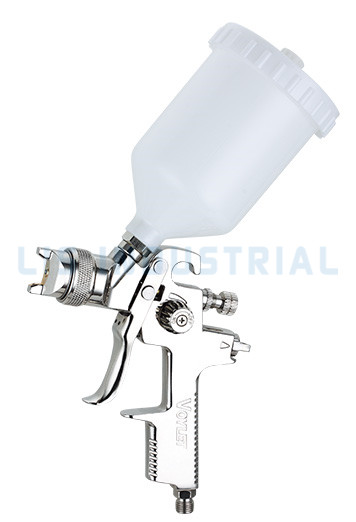
| Gravity feed (cup on top) | Furniture, trim, touch-up, small panels | 200–600 ml | Low air consumption, quick color changes, low paint waste |
| Pressure feed (paint tank below) | Continuous production, larger volumes, thicker coatings | 2,000 ml and up | Good for consistent long runs; the tank adds cleaning time |
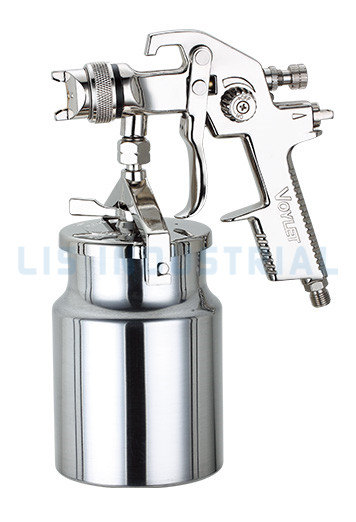
| Siphon feed (cup below) | Occasional DIY, budget projects | 500–1,000 ml | Cheap to buy, but needs more air to pull paint up and wastes more material |
For most how-to situations, HVLP is the technology that helps a beginner get a clean result with less overspray. The HVLP spray guns overview explains what high-volume-low-pressure means in practice. LVLP behaves similarly but uses even less air, which helps when your compressor is small. Conventional guns atomize heavy materials well but waste more paint and create more bounce-back.
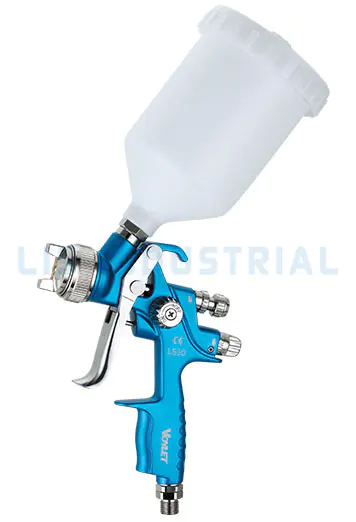
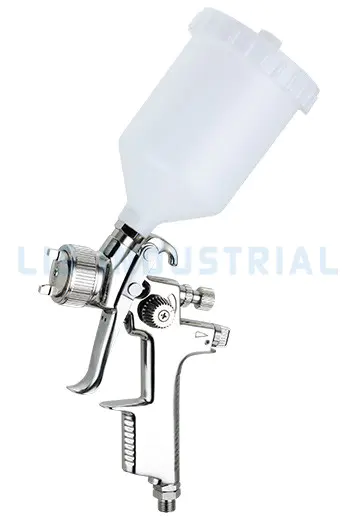 LS20 HVLP Spray Gun with Interchangeable NozzlesThis HVLP spray gun features 1.3mm and 1.7mm fluid nozzles, a 600ml cup, and suits top coats for automotive, plastic, metal, and woodwork. Ideal for cleaner results with less overspray, as noted in the HVLP overview.View Product →
Estimated transfer efficiency of common spray gun types
Ranges based on common coating-industry estimates; actual values vary with nozzle size, viscosity, and operator skill.
Prepare the Coating and Know the Gun
Correct spraying starts with a paint that flows evenly. Test the coating with a viscosity cup, usually a #4 Ford cup: the paint should empty from the full cup in roughly 20–30 seconds for a typical topcoat. If it runs through too fast, it will sag on the surface; if it pours like honey, it will sputter and produce orange peel.
Always pass the paint through a mesh filter or a clean nylon strainer before pouring it into the cup. A single lump of dried material can block the fluid nozzle and ruin a panel within seconds. This filtering step matters more than any adjustment on the gun.
Before changing settings, identify the parts you will be adjusting: air cap, fluid nozzle, fluid needle, trigger, cup, and air inlet. The isometric sketch below shows a simplified gravity-feed HVLP layout.
Simplified isometric anatomy of a gravity-feed HVLP spray gun. Layout and parts vary by model.
Set Air, Fluid, and Fan in That Order
A paint spray gun has three main adjustments: air pressure, fluid flow, and fan width. If you change them out of order, the settings fight each other and the pattern becomes impossible to read. Set air first, then fluid, then fan.
- Air pressure. Start with the compressor regulator at 25–30 psi while the trigger is pulled for a typical HVLP gravity gun. If you have a gauge at the gun handle, aim for about 10 psi at the air cap. For LVLP, lower the inlet pressure to roughly 15–25 psi. Too little air makes the paint spit; too much creates bounce-back and a dry rough finish.
- Fluid flow. Close the fluid needle adjustment before the first test, then open it gradually until the coating lays down evenly. If the paint hunts or sputters, the fluid screw has been opened too far. If the pattern is thin and scratchy, close it slightly.
- Fan pattern. Open the fan control fully for large surfaces and narrow it down for edges, corner repairs, and tight panels. The fan setting spreads the material; it cannot fix a bad pressure or fluid setting.
Test every combination on cardboard before you touch the workpiece. A correct pattern looks like a smooth, slightly oval band with no dark center line and no heavy edges.
Fan width vs. spray distance for a 60° fan pattern
Fan width approximated for a 60° fan pattern held perpendicular to the surface.
Hold the Gun Correctly: Distance and Speed Decide
Even a perfectly tuned gun will fail if the hand moves the wrong way. Keep the gun perpendicular to the surface; do not arc your wrist as if you were painting with a brush. Move your whole arm in a straight line, and let the spray fan do the spreading.
For an HVLP gun, hold the tip 6–8 inches from the surface. Too close produces runs and a heavy wet center; too far produces dry overspray and a textured finish. For a 60-degree fan, 8 inches gives roughly a 9-inch-wide pattern, which is enough for most panels.
Move at a steady speed of about 12 inches per second on normal coatings, and overlap each pass by about 50%. Pull the trigger only after the gun is moving, and release it just before the end of the stroke. If you trigger while stationary, paint piles up in one spot and runs.
Spray the edges and corners first, then fill the center with parallel passes. Practice on cardboard until you can produce a uniform stripe without dark vertical lines in the middle.
For a more detailed breakdown of grip, stance, and trigger timing, check the illustrated guide on how to hold and operate a paint spray gun.
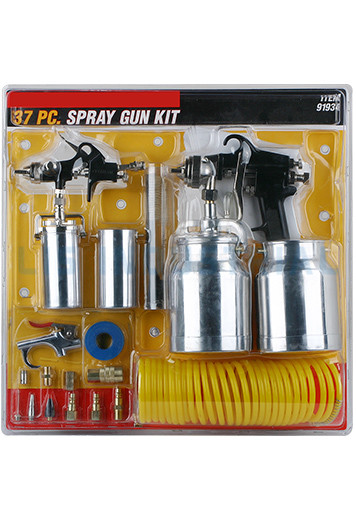 SGK37 Spray Gun Kit with Touch-Up Gun and AccessoriesThis kit bundles a high-pressure PQ-2UA gun, a 1000cc suction cup, a touch-up gun with a 200cc cup, and multiple adapters. It provides a full setup for tackling typical spray defects and practicing proper technique.View Product →
Fix Common Defects Before You Repaint
Defects usually come from one of four mistakes: wrong distance, wrong pressure, paint that is too thick, or a dirty nozzle. When a problem appears, stop and correct the cause rather than adding more paint on top of it.
| Problem | Likely cause | Quick fix |
| Runs and sags | Gun too close, too much fluid, slow pass speed, paint over-thinned | Increase distance to 6–8 in; reduce fluid flow; move faster; re-test viscosity |
| Orange peel | Paint too thick, air pressure too low, wrong nozzle size, gun held too far | Thin 5–10% by volume; raise pressure 2–3 psi; change nozzle; reduce distance |
| Dry overspray texture | Gun too far, high air pressure, thin paint, moving too slowly | Bring the gun closer; lower pressure; adjust paint; increase pass speed |
| Spitting or sputtering | Dirty nozzle, loose cup, air leak, clogged fluid valve, moisture in the air line | Clean the air cap and nozzle; tighten the cup; check seals; drain compressor; add a water separator |
| Uneven tiger stripes | Inconsistent speed, arcing the wrist, or missed overlap | Move straight and at constant speed; keep the gun perpendicular; overlap passes by half |
Clean the Gun Before the Paint Dries
Most spray gun failures start with paint left in the nozzle overnight. Modern waterborne paints begin to dry on the fluid tip within minutes, so clean the gun as soon as you finish spraying, even if you plan to reuse it later the same day.
- Release all air pressure and empty the remaining coating back into the original container through a filter.
- Fill the cup about one-third full with the correct solvent, such as water for latex paint or mineral spirits for oil-based paint.
- Spray the solvent through the gun for a few seconds to flush the fluid passage and air cap.
- Remove the air cap, fluid nozzle, and fluid needle, then soak only those small parts in solvent. Wipe them clean with a soft brush.
- Blow-dry the passages with clean air, wipe the gun body, and lightly lubricate the needle and trigger mechanism so the moving parts stay smooth.
Never soak the entire gun in solvent overnight. Seals and O-rings will swell or soften, and the next spray session will turn into a leaking mess.
Frequently Asked Questions About Using a Paint Spray Gun
Q1. What PSI should a paint spray gun be set to?
For most HVLP spray guns, set the inlet pressure to 25–30 psi while the trigger is pulled. If the gun has a gauge at the air cap, aim for about 10 psi there. Start at the lowest pressure that gives an evenly atomized pattern.
Q2. Why is my spray gun spitting paint?
Spitting usually means a dirty nozzle, loose cup lid, a failing seal, or trapped moisture in the air line. Clean the air cap and fluid nozzle, tighten the cup, and drain the compressor tank before spraying again.
Q3. How far should you hold a spray gun from the surface?
For HVLP and LVLP guns, hold the nozzle 6–8 inches from the surface. Holding closer creates runs; holding farther creates dry overspray and orange peel. Airless sprayers normally run farther, at 12–24 inches.
Q4. Can you spray latex paint with a paint spray gun?
Yes, but latex must usually be thinned 10–20% with water and filtered first. Latex dries quickly, so work in small sections and clean the gun promptly. For very large flat walls, an airless sprayer handles latex more easily.
Q5. How much should you thin paint before spraying?
Measure the paint with a viscosity cup. For a typical topcoat, aim for 20–30 seconds in a #4 Ford cup. Add thinner in 5% increments until the coating flows smoothly without sagging.
Q6. HVLP or airless: which is better for a beginner?
For furniture, trim, and car parts, an HVLP gun gives finer atomization and lower overspray. For whole-house walls, fencing, and exterior surfaces, an airless sprayer covers area much faster. Choose based on the workpiece size, not just the purchase price.