 Search
 English
 中文简体
中文简体 Deutsch
 Español
Content
You set the air pressure, opened the fluid knob halfway, and pulled the trigger—then the gun spattered like a fountain pen and left a dry, dusty strip down the center of the panel. That is rarely a defective tool. It is almost always a setup problem. Here is the conclusion up front: adjust a paint gun in this order—air first, fan second, fluid last—and then fine-tune distance and paint viscosity. This sequence works the same on HVLP, LVLP, and conventional spray guns. The same logic also applies to pressure-feed spray guns, although the external paint tank changes how quickly fluid reaches the tip.
The Three Main Controls: What Each Knob Actually Does
Most air spray guns have three adjustments, and each one changes a different variable. The fluid knob limits how far the needle lifts off the nozzle seat. The fan pattern knob controls how much air enters the air-cap side ports to flatten the round spray into an elliptical fan. The air pressure at the inlet sets the total energy available for atomization. If your gun has a small inlet valve instead of a regulator, that valve is the third control; the fan knob is separate and usually sits behind the fluid needle housing.
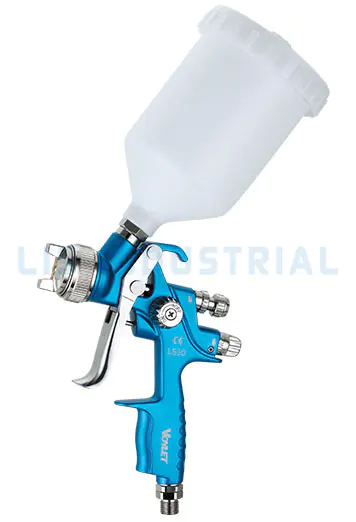
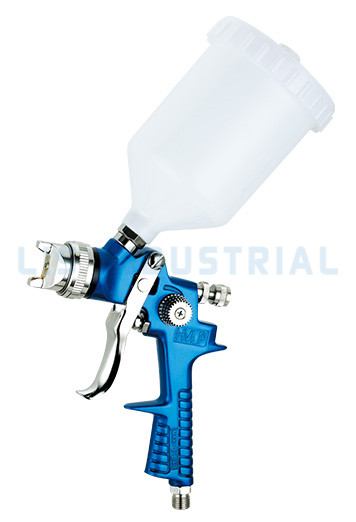
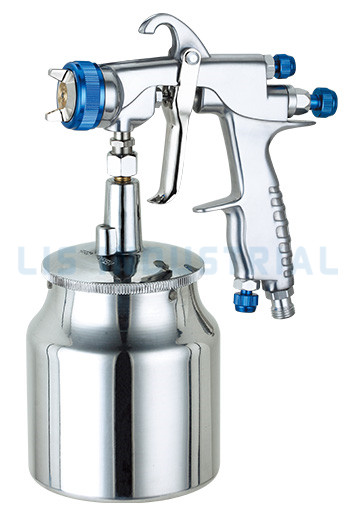
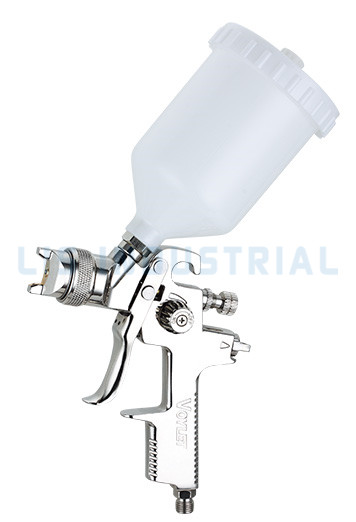
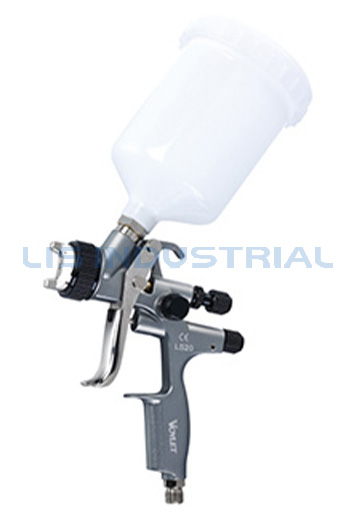 LIS LS20 HVLP Spray Gun with Brass Air Cap and Stainless Steel NeedleThis HVLP gun offers predictable fan and fluid dials, making it easier to return to a saved setting. With a 1.3mm or 1.7mm nozzle and 600ml cup, it suits automotive, plastic, metal, and wood top coats.View Product →
| Table 1. Spray gun adjustment controls and their effect on the spray pattern. | |||
| Control | Location | Effect | If set wrong |
| Fluid (paint) knob | Rear of gun near the trigger | Controls paint volume and needle lift | Too little gives dry spray; too much causes runs |
| Fan (pattern) knob | Rear or side of the gun | Controls the width of the spray fan | Narrow pattern creates stripes; overly wide pattern dries the edges |
| Air pressure / inlet valve | Bottom of handle or upstream regulator | Controls atomization quality | Low pressure gives orange peel; high pressure creates overspray and fog |
Beginners often open the fluid knob wide first. That is backward. Start with a conservative fluid opening, then increase until the pattern fills in without leaving runs. A well-built HVLP gun gives you predictable clicks on the fan and fluid dials, so you can return to a saved setting. The LIS LS20, for example, uses a brass air cap and stainless steel needle, which keeps adjustment repeatable between coats.
How to Adjust a Paint Gun in Four Steps
- Set air pressure while the trigger is pulled. Reading pressure without pulling the trigger is not enough, because most gauges show static pressure. Pull the trigger fully and adjust the regulator until the gauge shows the recommended atomizing pressure for your coating and gun type.
- Open the fan pattern. Turn the fan-pattern knob to the full-open position before making fluid adjustments. A narrow fan makes it hard to judge whether the fluid setting is correct.
- Set fluid volume at a conservative point. Turn the fluid knob in until it is close, then back it out about one-quarter turn. This gives you a smaller paint volume to start with, and you can increase it after the first test pass.
- Spray a test card and fine-tune. Use clean kraft paper or cardboard. Look for a wet, even football-shaped pattern. If runs start at the bottom, close the fluid knob slightly. If the pattern looks dry or speckled, reduce air pressure or add a little more fluid.
Hold the gun perpendicular to the surface and move your wrist like a windshield wiper. A common beginner error is arcing the wrist, which puts more paint in the center of the stroke. The linked guide on how to hold and operate a paint spray gun explains trigger timing and stroke overlap in more detail.
Spray Pattern Essentials: Shape, Distance, and Overlap
Before adjusting anything else, test the pattern on clean paper. A proper pattern is an even, wet, football-shaped oval. If the pattern looks like a dumbbell or has a heavy center, the fan air is too low or the fluid volume is too high. Distance also matters: most HVLP guns want the air cap 6 to 8 inches from the surface. Move closer for a wetter film, or move back only for a light dust coat.
When you overlap strokes, aim for about 50% overlap on every pass. The fan width changes with distance, so keep your arm at a consistent height instead of relying on the knob to fix a narrow pattern. For door-edge chip repairs and small parts, a full-size gun produces too wide a pattern; a dedicated pro touch-up gun narrows the spray footprint and uses less material at the same air pressure.
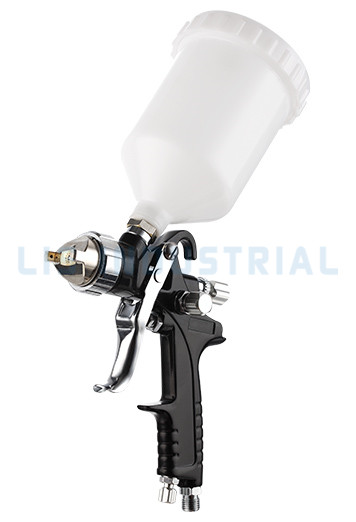
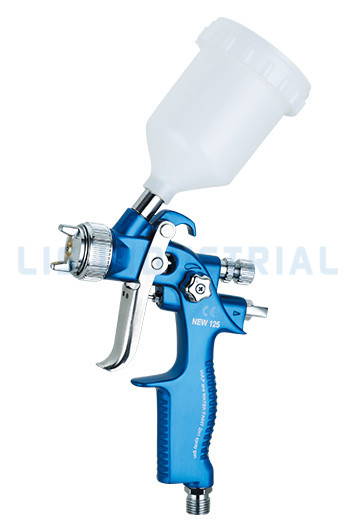
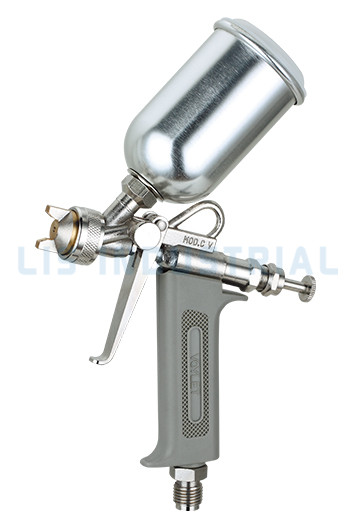 CV Pro Touch-Up Spray Gun with 0.5mm Nozzle and 125ml CupA compact touch-up gun that narrows the spray footprint for door-edge chips and small parts. Its small cup and precise 0.5mm nozzle reduce material usage while maintaining control at 50 psi air pressure.View Product →
Pressure, Viscosity, and Tip Size: Why the Numbers Matter
Air pressure is the energy source for atomization. A conventional gun may atomize at 30 psi or more, while an HVLP gun usually drops pressure at the air cap to about 10 psi and maintains roughly 20–29 psi at the inlet. As a rule of thumb used in most finishing guides, always check the manufacturer’s data sheet because air consumption changes with cap design. If you set pressure before the gun is fully triggered, you will likely end up 5–10 psi too high.
Viscosity is the second hidden variable. Paint that is too thick travels as long strings; paint that is too thin causes runs and poor coverage. Use a viscosity cup and check the seconds before you adjust the gun. A typical clearcoat may fall in the 20–30 second range on a DIN 4 or Ford #4 cup, but you should always follow the coating supplier’s recommendation. Tip size is similarly tied to the coating: a 1.3 mm to 1.4 mm nozzle suits urethane clearcoat, while a 1.8 mm to 2.0 mm nozzle is more practical for primer.
Wood coatings often need lower atomizing pressure to prevent bounce back. Low-pressure wood spray guns use a larger air passage and a softer spray, which is helpful for lacquer and conversion varnish on flat surfaces.
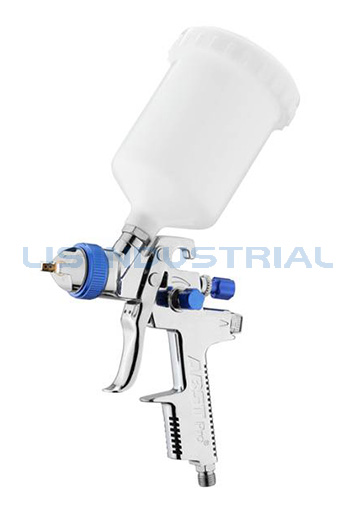
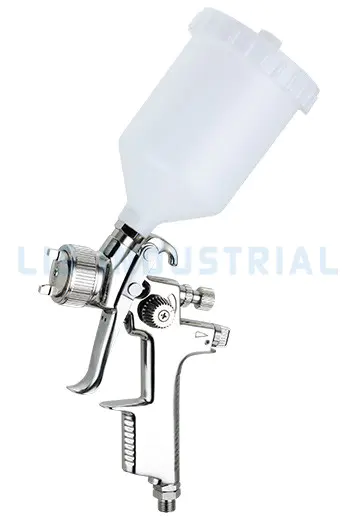
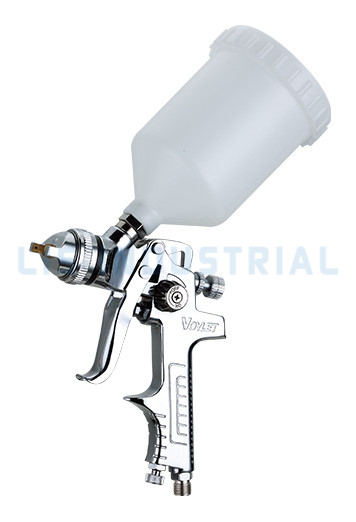
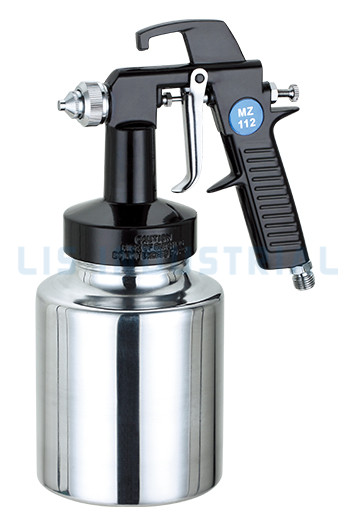 HL112 Low-Pressure Wood Spray Gun with 1.3mm Nozzle and 1000ml CupDesigned for wood coatings, this gun uses a larger air passage and softer spray to minimize bounce back on lacquer and conversion varnish. Its 35 psi operating pressure and large cup support flat surface finishing.View Product →
Common Adjustment Mistakes and How to Fix Them
| Table 2. Spray gun symptoms, likely causes, and corrections. | ||
| Symptom | Likely cause | Correction |
| Runs and sags | Too much fluid, or gun held too close | Close the fluid knob one-quarter turn; increase distance by 1–2 inches |
| Dry overspray / dusty finish | Air pressure too high, gun too far, or fluid flow too low | Reduce pressure, open fluid, move closer, or use a slower thinner |
| Orange peel | Paint too thick, low atomizing pressure, or uneven stroke speed | Check viscosity, raise pressure slightly, and keep stroke speed steady |
| Spitting or sputtering | Air leak in the fluid passage, dirty nozzle, or low fluid level | Clean the gun, tighten the fluid cap, refill cup, and inspect needle/seat |
| Pattern split in center | Fan air too high or fluid volume too low | Reduce the fan control, then open the fluid knob slightly |
If spitting continues after cleaning, inspect the needle seat and air cap. A worn set is usually cheaper to replace than a whole gun. When in doubt, run another test card after every adjustment; the extra five minutes prevents a costly re-coat.
Frequently Asked Questions
Q1: What is an HVLP spray gun?
HVLP stands for high-volume low-pressure. It uses high airflow at low air-cap pressure to atomize paint, which improves transfer efficiency and reduces overspray.
Q2: What pressure should a paint spray gun be set to?
For most HVLP guns, start at 20–29 psi at the gun inlet and check the air-cap pressure—usually around 10 psi—with a test gauge.
Q3: Why is my spray gun spitting?
Spitting usually means a loose fluid nozzle, debris in the nozzle, or a small air leak. Clean the gun and tighten the fluid cap before changing pressures.
Q4: What is the difference between HVLP and LVLP?
HVLP uses high air volume at low pressure for fewer emissions. LVLP uses lower air volume and works well with smaller compressors, making it ideal for touch-up work.
Q5: How do I know when my spray gun is properly adjusted?
When the test spray lands as an even, wet, football-shaped pattern at 6–8 inches, with no spitting or dry edges, the gun is ready for the panel.
Q6: What size air compressor do I need for a paint spray gun?
A compressor delivering at least 6–8 CFM at 40 psi is a common starting point for continuous HVLP spraying. Always check the gun’s air consumption spec first.