 Search

 English
 中文简体
 Deutsch
 Español
Content
- 1 Why clear coat asks more of a gun than base coat
- 2 Fluid tip, needle and air cap: the numbers that decide the finish
- 3 HVLP, LVLP or conventional: what the air cap does to your clear
- 4 Air supply: the part most painters skip
- 5 A setup sequence you can repeat
- 6 Reading the finish: what each defect is telling you
- 7 What to check before you buy a clear coat gun
- 8 Frequently asked questions
- 8.1 Q1. What size spray gun do I need for automotive clear coat?
- 8.2 Q2. Can I spray clear coat with a primer gun?
- 8.3 Q3. What pressure should an HVLP clear coat gun run at?
- 8.4 Q4. Why does my clear coat come out with orange peel?
- 8.5 Q5. Is LVLP better than HVLP for clear coat?
- 8.6 Q6. How do I clean a clear coat spray gun after use?
Two painters, same clear coat, same booth, opposite results. In most of those arguments the product is not the problem — the gun is. An automotive clear coat spray gun has a harder job than a base coat gun: it must turn a high-solids, fast-flashing liquid into droplets fine enough to flow out into a gloss, yet heavy enough that they do not dry in the air on the way to the panel.
If you are setting up a gun for clear, or replacing one that never quite delivered, start with three numbers and work outward from them:
Everything below explains why those numbers matter, where they move, and what to look at before you buy.
Why clear coat asks more of a gun than base coat
Base coat only has to lay down colour evenly and dry matte; the clear has to build film, flow flat and stay optically clear for years. That difference changes what the gun must do.
- Higher solids, higher viscosity. A two-component clear carries far more film-forming solids than a base coat, so it needs more atomizing energy to break into fine droplets at the same temperature.
- Slow solvents and long open time. Clear relies on residual flow after the droplets land. Over-atomize and you get dry, gritty overspray that never melts in; under-atomize and you get orange peel that no amount of buffing will fully remove.
- Thin film targets. Most refinish clears are specified around 40–60 μm total dry film. Two even coats get you there; three heavy ones get you runs, solvent pop and a much longer wait before buffing.
- It is the layer people look at. Primer defects get sanded away. Clear defects get noticed from three metres.
Fluid tip, needle and air cap: the numbers that decide the finish
The fluid tip sets the volume of material the needle releases each time it lifts, so it is the first thing to get right. A 1.3 mm tip is the usual default for full-panel clear on a gravity-feed gun: enough flow to wet out a panel in two coats, without so much volume that you are fighting runs on every pass.
Tip, needle and air cap are a matched set. Swapping only the tip changes how the needle seats and typically produces a drip or a fan that is heavy on one side. Keep spare sets together and label them. Most gravity-feed spray guns in a refinish shop end up with two: a 1.3 mm set for clear and a 1.6–1.8 mm set for primer.
| Material | Fluid tip | Where it is used | Practical note |
|---|---|---|---|
| Primer filler | 1.8–2.0 mm | High-build primer, sanded back | Heavy flow; keep pressure low to limit overspray |
| Sealer | 1.6–1.7 mm | Uniform base before colour | Wet enough to seal, thin enough to avoid sanding scratches |
| Base coat | 1.3–1.4 mm | Solid, metallic and effect colours | Even, semi-dry coats; metallics need consistent overlap |
| Clear coat | 1.2–1.3 mm | Full panels, two wet coats | Balance atomization against flow-out |
| Spot / panel clear | 1.0–1.2 mm | Small repairs and blends | Smaller fan, tighter control near edges |
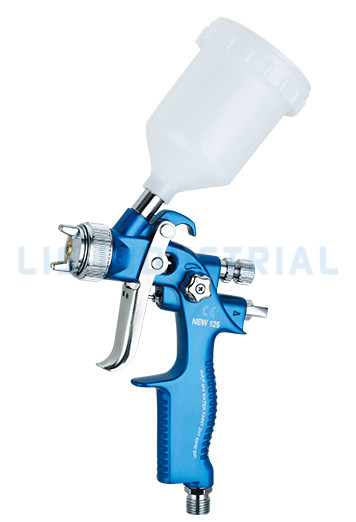
 H2001/H2000 Mini HVLP Gravity Feed Touch-Up Spray GunA compact 125 mL gravity-feed gun with 0.5–1.0 mm nozzle options, suited to small-area repair and blending where a full-size gun is awkward.View Product →
For blending and small panels, a dedicated touch-up body is easier to control than a full-size gun with the fluid knob turned down. A smaller cup and a shorter barrel keep the weight close to your hand, which matters when you are working around door edges and pillars.
HVLP, LVLP or conventional: what the air cap does to your clear
Air cap pressure is the biggest single lever on how much of your clear ends up on the car rather than in the booth filter. HVLP is defined by running roughly 10 psi (0.7 bar) or less at the air cap, and several US air districts tie compliance to a transfer efficiency of 65% or better. That is why HVLP became the default for refinish clear — not because the name sounds technical, but because it keeps more material on the panel.
LVLP sits below HVLP in air volume. It runs well on a small compressor or a long, thin hose where an HVLP gun would starve, at the cost of slightly coarser atomization. Conventional high-pressure guns still produce the finest mist, but a large share of it bounces off the panel as overspray, which costs material and puts dry particles back into the wet film.
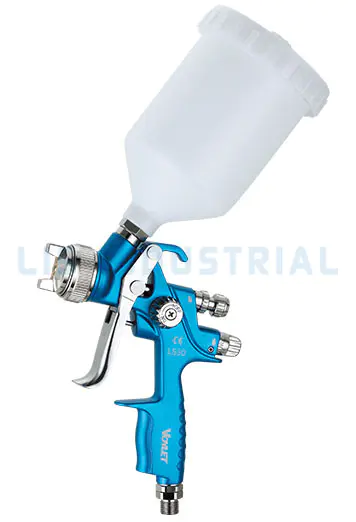
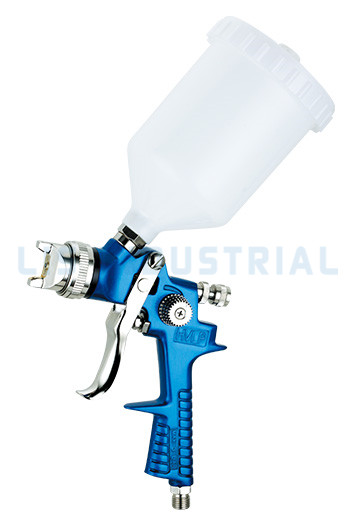
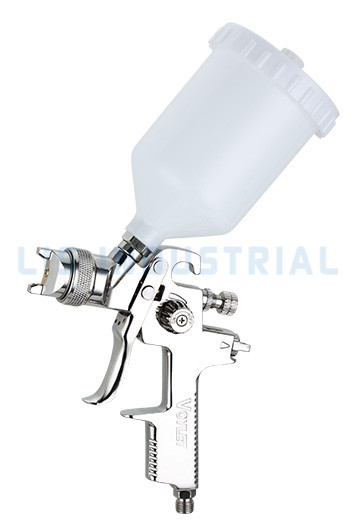
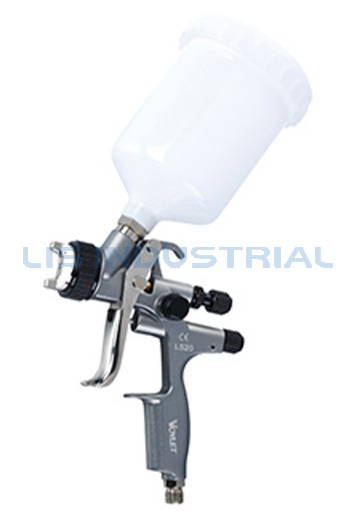 LS20 HVLP Gravity Feed Spray Gun with Nozzle OptionsGravity-feed HVLP gun with 1.3 mm and 1.7 mm nozzle options and a 600 mL cup for top-coat automotive, plastic, metal and wood coating.View Product →
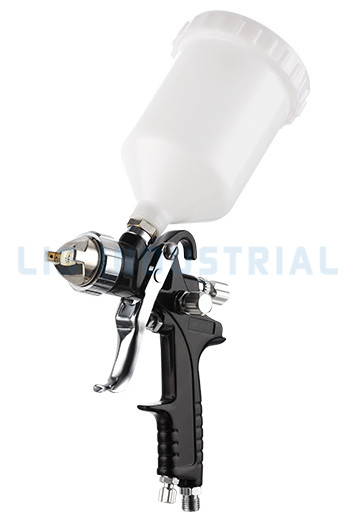
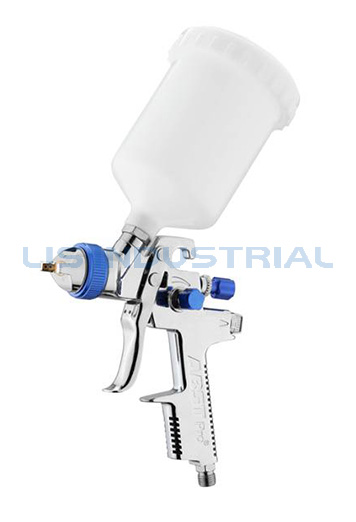
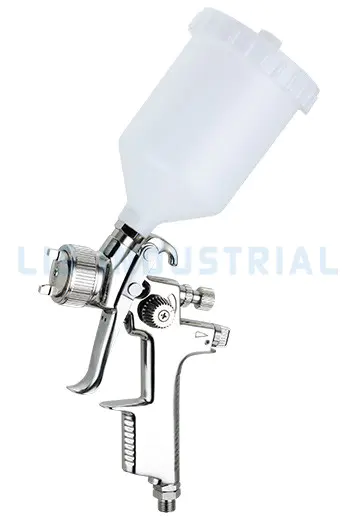
Whatever the badge on the body, ask for the air cap pressure rating and the nozzle set options. A gun that only ships with one tip size will not cover both primer and clear in a working shop. The full HVLP spray gun range is usually organised by cup size and tip options rather than by name alone.
Air supply: the part most painters skip
A gun can only atomize the air you give it. Moisture and oil are the two failures that show up as fisheyes and milky haze, and both are cheaper to fix at the filter than at the buffing stage.
- Filter at the gun, not only at the compressor. A 5 μm filter-regulator at the inlet catches the rust and condensate that builds up along the line overnight.
- Measure pressure where the gun is. A gauge at the tank tells you nothing about the pressure after 15 metres of 8 mm hose and a quick coupler.
- Keep the hose short and fat. If the gun drops pressure when you pull the trigger, the hose is the restriction, not the regulator.
- Drain the trap before the first coat. A line that sat all night collects water; a two-second blow-off into a rag saves a panel.
 AFR80 Air Pipeline Filter RegulatorA compressed-air filter/regulator with 40-micron filtration and 10–120 PSI range, helping remove moisture and oil before the spray gun.View Product →
A setup sequence you can repeat
Once the gun is clean, the order below keeps the variables separate. Change one thing at a time and note it on the job card; that record is what turns a good day into a repeatable process.
- Flush the fluid passage and test the fan on a scrap panel. A partly blocked tip makes a fan that is heavy on one side, and no adjustment hides it.
- Fit a matched 1.2–1.3 mm tip, needle and air cap. Seat the needle and check for a drip at the nozzle — a drip means the parts are not a set.
- Set inlet pressure with air flowing: trigger pulled, fluid knob closed, gauge on the gun inlet. A reading taken with the trigger released is always optimistic.
- Open the fluid knob about one and a half turns, then adjust on a test card rather than on the vehicle. Read droplet size on the card, not the shine.
- Set fan width to roughly 200 mm at a 150 mm distance, then narrow it one step for clear so the overlap stays controllable along a long panel.
- Lay the first coat at about 50% overlap and stop. Clear is judged on two even coats, not on how wet the first one looks.
Reading the finish: what each defect is telling you
Almost every clear coat problem is a message about one setting. Change the setting, not the whole process.
| Defect | What it looks like | Most common cause | First change to make |
|---|---|---|---|
| Orange peel | Pebbled, textured surface that will not buff flat | Insufficient atomizing air, tip too large for the fluid, or passes too fast | Raise inlet pressure one step, confirm the 1.3 mm set, slow the passes |
| Dry spray | Gritty, sandy overspray at edges and blend zones | Gun too far from the panel, pressure too high, solvent too fast | Move closer, reduce air, switch to a slower reducer |
| Solvent pop | Pinholes or small blisters in the film | Too much film per coat, flash times too short for the booth temperature | Thinner coats, longer flash, check booth and panel temperature |
| Runs and sags | Curtains and hanging drips | Fluid knob open too far, slow passes, heavy overlap | Close fluid knob half a turn, increase hand speed, check distance |
| Blushing | Milky white haze in the film | Moisture from the air line entering the spray | Drain traps, add a coalescing filter at the gun inlet |
What to check before you buy a clear coat gun
For a shop or a distributor, the finish matters, but the supply chain decides whether the gun stays in service after the first season.
- Matched sets in several sizes. Confirm you can order 1.0, 1.2, 1.3 and 1.4 mm tip, needle and air cap sets as complete units, not as three separate part numbers.
- Thread and fitting standards. A 1/4 in BSP inlet will not seal properly on an NPT coupler. Check which standard the gun uses and stock the matching fittings.
- Wear parts on the shelf. Needles, springs, cup gaskets and air valve seals are consumables. A gun whose spares take six weeks to arrive is a spare gun, not a working one.
- Documented quality control. Ask whether every unit is function-tested before packing, not sampled. LIS Industrial, for example, states that it works to ISO9000 procedures with incoming material inspection, in-process checks, 100% functional testing and final inspection, and holds CE and GS certification across its spray gun lines.
- Consistency across the range. A manufacturer that keeps cup threads and body fittings common across models lets you standardise training, spare stock and cleaning procedure.
- Support material. Exploded parts diagrams and downloadable data sheets save more time than a catalogue photograph.
The gun is the cheapest part of a repaint and the most expensive one to get wrong. Pick the tip size for the job, prove the air supply, and set the gun on a test card before it goes near a panel — the finish follows from those three decisions far more than from any feature list.
Frequently asked questions
Q1. What size spray gun do I need for automotive clear coat?
A 1.2–1.3 mm fluid tip is the normal choice for full-panel clear. Drop to 1.0–1.2 mm for spot repairs and blends, and always match the needle and air cap to the tip.
Q2. Can I spray clear coat with a primer gun?
Not well. A 1.8 mm primer setup moves too much material for a thin clear film, so you fight runs while atomization stays coarse. Keep a separate tip set for primer and clear.
Q3. What pressure should an HVLP clear coat gun run at?
Most HVLP clear guns work with roughly 2.0–2.5 bar at the inlet with the trigger pulled, provided the air cap stays at or below about 10 psi. Measure at the gun inlet, not at the compressor.
Q4. Why does my clear coat come out with orange peel?
Usually too little atomizing energy, passes that are too fast, or a solvent that flashes before the film can flow out. Raise the inlet pressure one step, narrow the fan and slow the hand speed before changing products.
Q5. Is LVLP better than HVLP for clear coat?
LVLP runs on less air volume, which suits small compressors and long thin hoses. HVLP generally atomizes high-solids clear better when the air supply is adequate, so choose on compressor output rather than on the label.
Q6. How do I clean a clear coat spray gun after use?
Flush with the recommended solvent immediately, back-flush the tip, remove the needle, clean and lubricate the packing, and never soak the whole gun. Dried clear inside an air cap is the most common cause of an uneven fan the next morning.