 Search

 English
 中文简体
 Deutsch
 Español
Content
- 1 What HVLP Actually Changes on a Refinished Panel
- 2 Fluid Tip and Coating Match Comes First
- 3 Air Supply: Where Most Finish Defects Begin
- 4 Technique That Survives Booth Lighting
- 5 What to Verify Before You Buy a Batch
- 6 Cleaning and Consumables Decide Gun Life
- 7 Frequently Asked Questions
- 7.1 What size HVLP spray gun do I need for clearcoat?
- 7.2 Can I spray automotive primer with an HVLP gun?
- 7.3 What CFM compressor do I need for an HVLP spray gun?
- 7.4 What is the difference between HVLP and LVLP for car painting?
- 7.5 How far should I hold an HVLP gun when painting a panel?
- 7.6 Why does my HVLP gun spray dry or leave orange peel?
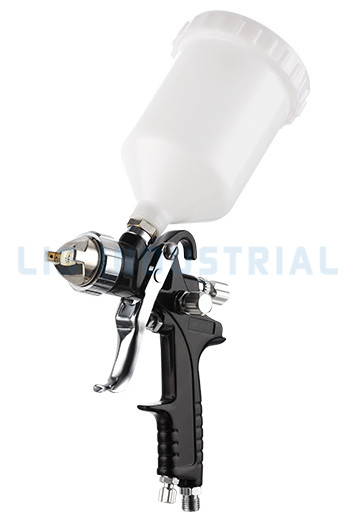
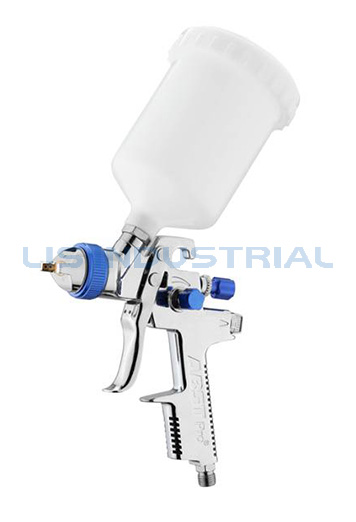
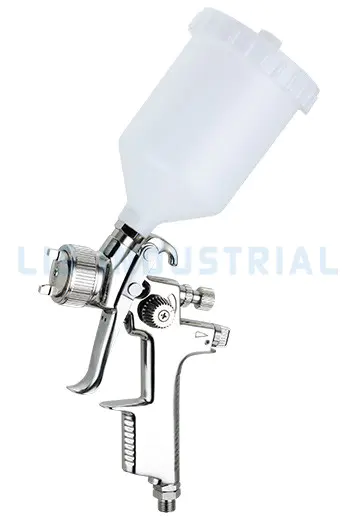
Two painters can hang the same door skin in the booth, pour from the same litre of clearcoat, and walk out with two completely different results. The variable is usually the gun on the wall. For automotive refinishing, the practical specification is a gravity-feed HVLP spray gun with a 1.3–1.4 mm fluid tip for basecoat and clearcoat, a 1.6–1.8 mm tip for primer filler, inlet pressure held inside the maker's HVLP window (often 15–30 psi at the gun), and an air supply that still delivers roughly 10–13 CFM with the trigger pulled.
Those four numbers settle most of what follows. The rest of this guide covers where the tolerance actually sits, which defects trace back to which setting, and what to check before a shop standardises on one model or places a batch order.
What HVLP Actually Changes on a Refinished Panel
HVLP means the air cap is designed to atomise at low pressure — a true compliant cap runs well under one atmosphere, while the gun inlet usually sits between 15 and 30 psi depending on model and coating. Lower air velocity does two useful things: it slows the paint particles so more of them stay on the panel instead of bouncing into the booth filter, and it calms the turbulence that pushes metallic flake into streaks across a basecoat.
The trade-off is laid-down speed. An HVLP gun moves less material per pass than a high-pressure conventional gun, so you keep the gun moving at a steady pace and accept an extra coat on large panels. In exchange the film builds more evenly, less product ends up on the floor, and flake orientation stays consistent from a door into its adjacent quarter panel — exactly where a mismatch shows up under a light bar.
Typical ranges reported in spray-equipment training material; actual figures shift with gun model, viscosity, reducer and gun-to-panel distance.
Fluid Tip and Coating Match Comes First
The fluid tip is the single most consequential choice on the gun, and it is where most mis-buys happen. An under-sized tip starves delivery: the fan looks fine but the film goes on dry, the gun spits at the end of a pass, and clearcoat never flows out. An over-sized tip floods the panel — slow flash, sags along body lines, and heavy orange peel that costs hours of sanding and polishing to recover.
| Coating | Fluid tip | Inlet pressure at gun | What goes wrong when mismatched |
|---|---|---|---|
| Polyester / high-build primer filler | 1.6–1.8 mm | 25–35 psi | Tip too small: dry, gritty film and clogging |
| Primer surfacer / sealer | 1.4–1.6 mm | 20–30 psi | Tip too large: runs and slow solvent release |
| Solvent or waterborne basecoat | 1.3–1.4 mm | 18–28 psi | Pressure too high: metallic mottling and overspray |
| 2K clearcoat | 1.3–1.4 mm | 20–29 psi | Pressure too low: coarse droplets and peel |
| Single-stage topcoat | 1.4–1.5 mm | 20–30 psi | Borderline tip: uneven gloss across panels |
| Spot repair / touch-up | 0.8–1.0 mm | 15–25 psi | Full-size gun: blended area too wide to polish out |
On a 1.4 mm nominal tip, expect a real tolerance of about ±0.05 mm between production batches. That sounds trivial until you compare a 1.3 mm and a 1.4 mm set on the same high-solids clear: the smaller tip gives finer control on vertical panels and pillars, the larger one lays a wetter coat on horizontals without chasing the gun.
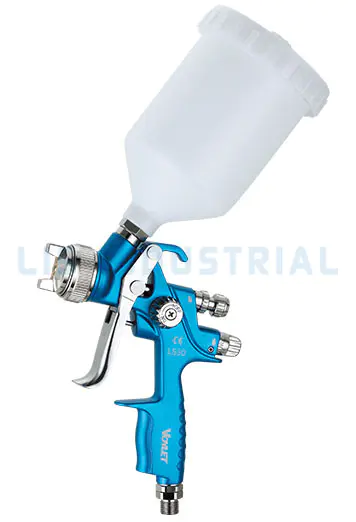
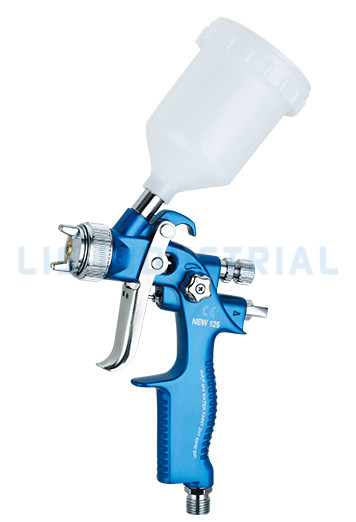
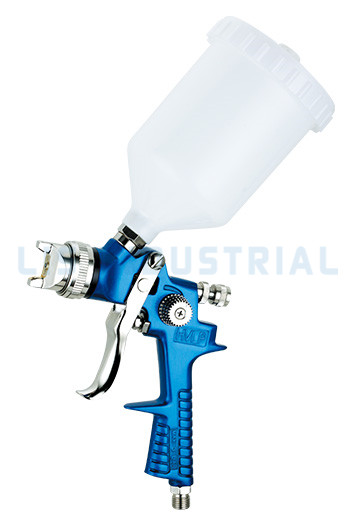
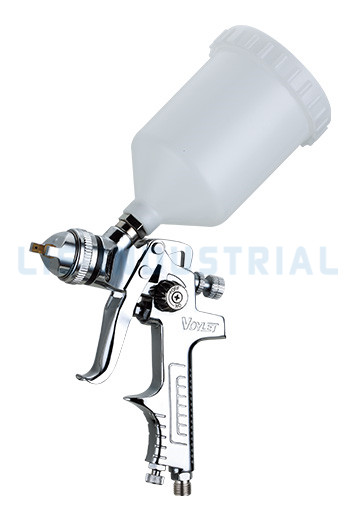
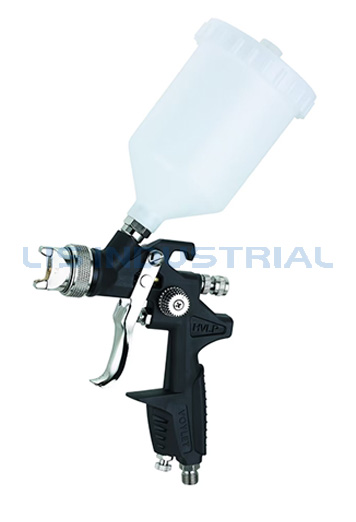
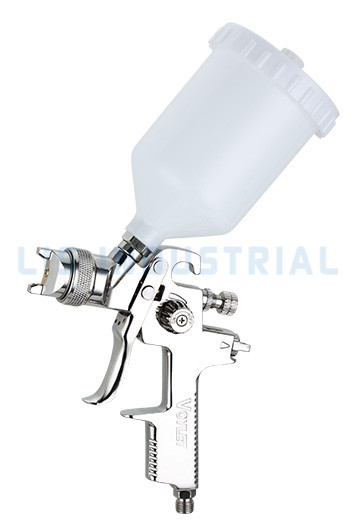
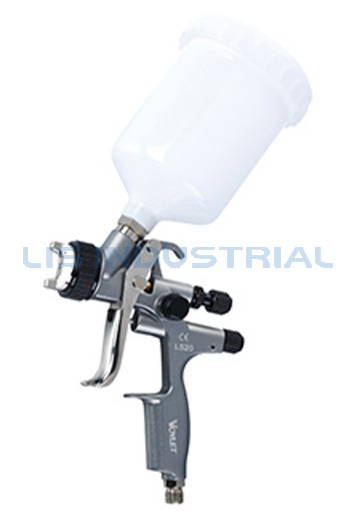 LS20 Gravity-Feed HVLP Spray GunGravity-feed HVLP gun with a 600 ml cup and 1.3/1.7 mm nozzle options for automotive, metal, plastic and wood coating work.View Product →
A gravity-feed body with a 600 ml cup is the practical default for panel work: the cup sits above the nozzle, so the last 50 ml still feeds without tilting, and clean-up takes minutes rather than a full strip-down.
Air Supply: Where Most Finish Defects Begin
A compliant HVLP gun is an air-hungry tool. Where a conventional high-pressure gun may run on 4–6 CFM, an HVLP cap typically asks for 10–13 CFM at the inlet, and it will not atomise correctly if supply sags below that when the trigger opens. Set pressure with the trigger held open and air flowing — a static reading on a closed gun is always optimistic by several psi.
A filter-regulator mounted within a metre or two of the gun — not back at the compressor — keeps hose losses out of the equation. Check the couplers too: a worn quick-release fitting can drop several psi under flow, which is enough to turn a clean clearcoat into a dry, peely one.
Schematic, not measured data: too little pressure gives coarse droplets and peel, too much gives overspray, dry spray and wasted material.
 AFR80 Air Pipeline Filter/Regulator UnitFilter-regulator with a 10–120 PSI range, 40μ filtration and G1/4–G1/2 inlet options helps manage pressure in compressed-air pipeline setups.View Product →
Two accessories remove most of the guesswork: a filter-regulator with a visible gauge at the gun end, and a dedicated blow gun for cleaning caps and couplings instead of blasting them with shop air.
Technique That Survives Booth Lighting
Settings get the gun close; technique finishes the job. These are the consistent habits across shops that spray HVLP daily on cars rather than on test panels:
- Hold 15–20 cm from the surface. Closer floods and risks runs; further away dries the film before it lands.
- Keep the gun at 90° to the panel through the whole pass, including the ends of a roof or bonnet — arcing is what causes striping.
- Overlap 50% per pass, and let the fan overlap the panel edge before the trigger is released.
- Trigger on just before the panel edge and off just after it, never over the panel itself.
- Start with the fluid about 1.5–2 turns out from closed, tune the fan to the panel width, then fine-tune fluid last.
- Tack the panel between coats and respect flash times; HVLP lays a slower film, so rushing the next coat traps solvent.
 M308 Pro Touch-Up Spray GunCompact suction-feed touch-up gun with a 200 mL cup and 1.5/1.8 mm nozzles, suited to detail spraying and narrow repair areas.View Product →
For jambs, pillars and blend zones, a small touch-up body with a 0.8–1.0 mm tip keeps the repair footprint narrow enough to polish out in a single step.
What to Verify Before You Buy a Batch
If you are buying for a shop or reselling, the specification sheet is only half the decision. These checks separate a gun that lasts three years from one that lasts three months:
- Confirm the air cap is actually described as compliant HVLP, not simply "low pressure" in the marketing text.
- Ask for spare tip, needle and nozzle sets in at least 1.3, 1.4 and 1.6 mm so the gun can follow the work.
- Check cup material and seals for compatibility with both solvent and waterborne systems.
- Match the inlet thread and coupler standard to what your shop already uses.
- Request CE/GS documentation and ISO9000 process evidence — useful for audits and insurance conversations.
- Confirm the model stays in production and parts are stocked, especially when standardising across several bays.
- Spray one gun on a scrap panel before committing to a batch order.
A supplier that already builds a broad HVLP spray gun range alongside gravity-feed spray guns, cups, regulators and spare tip sets is usually easier to live with than one that only sells a single SKU, because consumables and service parts stay available.
Cleaning and Consumables Decide Gun Life
Most HVLP guns are retired early by cleaning habits rather than wear. Soaking the whole body in solvent strips lubricant from the needle packing and hardens seals; cleaning only the cap leaves dried clearcoat in the fluid passage.
- Strip the air cap, fluid tip and needle, and soak only those parts.
- Clear air passages with the supplied brush, never with wire or a drill bit.
- Lubricate the needle packing sparingly after cleaning, and store with the trigger released.
- Keep a spare tip and needle set on the shelf — a worn needle changes the fan long before it visibly fails.
Frequently Asked Questions
What size HVLP spray gun do I need for clearcoat?
A 1.3–1.4 mm fluid tip with inlet pressure around 20–29 psi suits most 2K clearcoats; go to 1.3 mm for vertical panels and fine control.
Can I spray automotive primer with an HVLP gun?
Yes. Use a 1.6–1.8 mm tip for high-build primer filler and raise the fluid flow rather than the pressure, or the film goes on dry and gritty.
What CFM compressor do I need for an HVLP spray gun?
Plan for 10–13 CFM at the gun with the trigger open. A compressor rated just at the gun's peak demand will still sag during long passes.
What is the difference between HVLP and LVLP for car painting?
HVLP moves more air at low pressure and covers faster; LVLP needs less compressor capacity but lays material more slowly and suits smaller shops.
How far should I hold an HVLP gun when painting a panel?
15–20 cm, held square to the surface throughout the pass. Moving further out dries the film; moving closer floods it and risks runs.
Why does my HVLP gun spray dry or leave orange peel?
Usually low inlet pressure, an over-thinned or too-thick coating, or a tip that is one size off. Check flowing pressure first, then the tip.