 Search
 English
 中文简体
中文简体 Deutsch
 Español
Content
A clean steel panel, a properly reduced coat of paint, and a brand new spray gun. By the numbers, that should be a flawless finish. Yet the first pass often comes out with a heavy stripe in the middle and dry, thin edges. The gun came straight from the factory with its fan, fluid, and air controls at neutral positions, and those positions are rarely right for the paint you are spraying or the air supply in your shop. The fastest route to a professional result is not a more expensive gun. It is knowing how to adjust the three simple controls that every spray gun already has.
Know Your Three Adjustment Controls
Every conventional air spray gun has three adjustments: the fan pattern control, the fluid control, and the air control. They work together as one system. Change one, and the other two usually need a small correction as well.
Fan Pattern Control
The fan control is typically a knurled knob at the rear of the gun body, although some models place it on the side of the handle. Turning it counterclockwise widens the fan-shaped pattern; turning it clockwise narrows it. This knob only shapes the air that spreads the paint. It does not change the volume of paint being released.
Fluid Control
The fluid control is the screw at the very back of the gun. It limits how far the fluid needle travels, which controls how much paint exits the nozzle. Turn it inward to reduce paint flow and outward to increase flow. If you close it too far, the gun produces a dry, powdery mist. If you open it too far, the panel floods and runs appear.
Air Control
The air control regulates the pressure or volume of air reaching the air cap. Depending on the gun design, it sits at the base of the handle or on the body. This knob does not set your compressor; it sets the pressure arriving at the gun. On most HVLP spray guns, the working inlet pressure is between 20 and 30 PSI (1.4 to 2.1 bar) with the trigger held open.
Set the Air Pressure First
The order of adjustment matters. Set the air control before touching the fan and fluid knobs, because both behave differently when air delivery changes. Start with your compressor and main regulator, then use the gun's air control or an in-line regulator near the gun to bring the working pressure to the correct level.
A long hose with a small inner diameter can cause a noticeable pressure drop. If the gun loses power halfway through long passes, measure the pressure at the gun inlet while the trigger is pulled, not at the compressor outlet. The chart below gives practical starting points for common coating materials, measured at the gun.
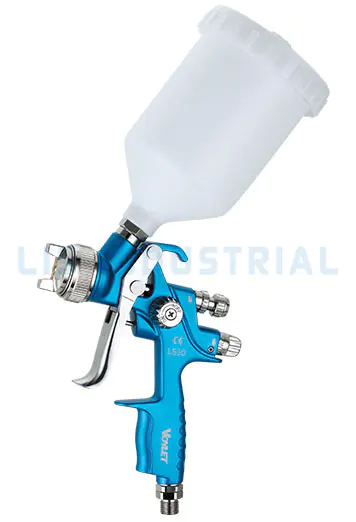
If you are working with a modern LS20 HVLP spray gun, start near 25 PSI at the gun and fine-tune from there. The exact number depends on the viscosity of your material, the size of the air cap, and your spraying distance, so treat the chart as a reference, not a rule.
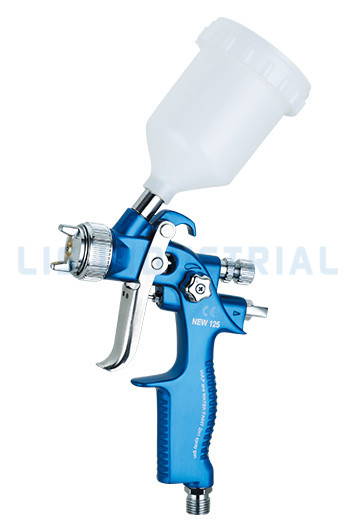
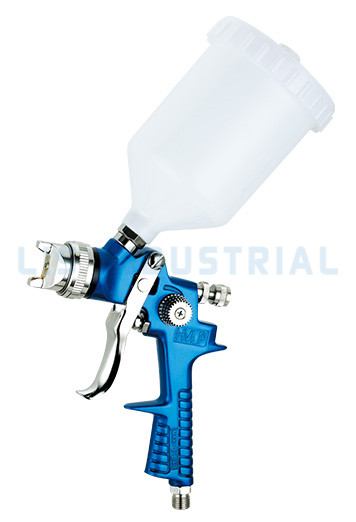
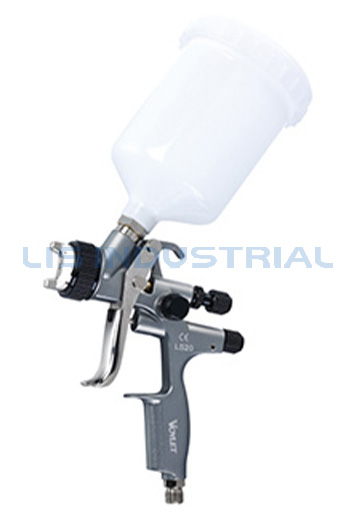 Wholesale LS20 -Hvlp Spray Guns Suppliers, OEM/ODM CompanyNingbo Lis Industrial Co., Ltd is China wholesale LS20 -Hvlp Spray Guns suppliers and OEM/ODM company,Fluid nozzle: 1.3mm & 1.7mm Air...View Product →
Adjust the Fan and the Fluid
Once the air pressure is stable, move to the fan and fluid controls. Follow the same sequence every time, and you will be able to tune any gun in under a minute.
- Close the fluid control all the way, then open it about one full turn as a starting point.
- Hold the gun 6 to 8 inches from the test panel for solvent-based paint, or 8 to 10 inches for water-based materials.
- Pull the trigger fully open and turn the fan knob counterclockwise until the pattern is as wide as you want it, typically between 4 and 10 inches.
- Release the trigger and adjust the fluid control in small increments until a test pass lays down a uniform, wet-looking band of paint.
- Watch the edges: if the pattern fades at the edges before the center, add a little fluid; if paint runs in the center, close the fluid knob slightly.
Make the test pass at the same speed and angle you will use on the actual part. If you change your grip or the angle of the gun, the pattern will look different. Those details matter as much as the adjustment itself; for more on technique, review the guide on how to hold and operate a paint spray gun.
Read the Spray Pattern
A 10-second test pass on clean cardboard tells you more than any manual. Here is how to read the most common pattern faults.
| Table 1. Spray pattern symptoms and their fixes | ||
| Pattern symptom | Likely cause | Adjustment |
| Heavy center, light edges | Too much fluid or too little air | Close the fluid knob slightly or raise air pressure |
| Split pattern with dry center | Air pressure too high | Lower air pressure 2-3 PSI at a time |
| Heavy bottom of the pattern | Dirty fluid tip or worn needle | Clean the air cap and inspect the needle |
| Sputtering or spitting | Low paint level, clogged vent, or loose tip | Refill cup, clean vent hole, retighten tip |
| Dry, powdery finish | Gun too far away or pressure too high | Move closer and reduce air pressure |
Feed Systems Change the Start, Not the Process
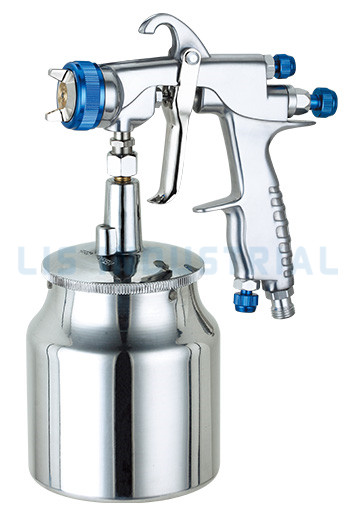
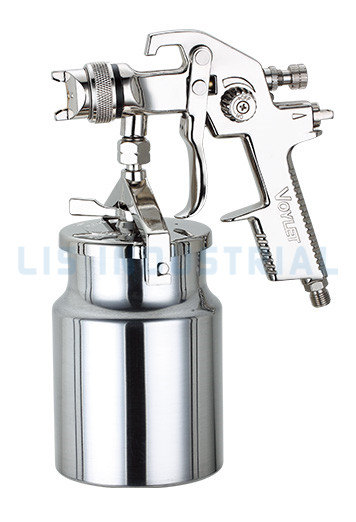
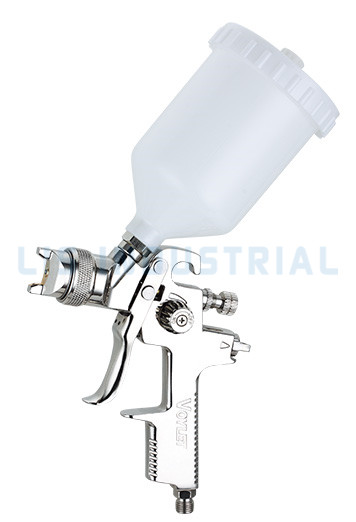
Gravity feed, suction feed, and pressure feed guns use the same three controls, but the starting position of the fluid knob changes. A gravity feed gun has paint sitting directly above the nozzle, so fluid flow responds immediately to the fluid knob. A suction feed gun draws paint up from a cup below the gun, which adds a short delay; the fluid knob usually needs to be about half a turn more open. Pressure feed systems push paint from a separate tank and typically operate at slightly higher air pressures to keep the paint moving through a longer line.
If you switch between feed types in the same shop, reset the fluid knob to its neutral starting position each time. That prevents the most common mistake painters make when moving from one gun to another: assuming the previous gun's setting will work on the next one.
A Five-Minute Pre-Spray Check
- Confirm the air supply is clean and dry, and check the pressure at the gun with the trigger open.
- Set the fan width first, then the fluid flow, on a test panel.
- Verify that the pattern is uniform at your normal spraying distance.
- Clean the air cap holes before every job; a single blocked hole changes the pattern.
- Keep a small scrap panel nearby and recheck the pattern when you change material or viscosity.
Frequently Asked Questions
What PSI should a paint gun be set at?
For most HVLP gravity feed guns, set the inlet pressure between 20 and 30 PSI at the gun. Use the lower end for thin materials like lacquer and the higher end for heavy latex or thick primers. Measure with the trigger pulled.
Why is my spray gun spitting paint?
Spitting usually comes from a low paint level, a clogged vent hole in the cup lid, or a loose fluid tip. Check those three before changing any adjustment; the gun itself may be fine.
How do I get a smooth finish with a spray gun?
Get the viscosity, distance, and gun speed right first, then balance the three adjustment knobs. Smoothness is never a single knob; it is the result of the whole system working together.
What does the fluid adjustment knob do?
The fluid knob limits how far the fluid needle opens, which controls paint flow. Turn it in to reduce paint and out to increase it. It is the main control for fixing runs and dry spray.
How much air pressure does an HVLP spray gun need?
HVLP guns typically need 20 to 30 PSI at the inlet, depending on the material and the air cap size. Air pressure at the compressor should be set higher, but the gun inlet is what matters.
Why is my spray pattern uneven?
A clean air cap, a tight fluid tip, and a steady air supply are the three usual suspects. Take the gun apart, clean it, and do a test pass before you adjust the knobs. For small spot repairs, a compact pro touchup spray gun makes it easier to fine-tune the same controls in tight areas.
 Wholesale H2001/H2000 Mini HVLP Spray Paint Gun Gravity Feed Sprayer Repair ToolNingbo Lis Industrial Co., Ltd is China wholesale H2001/H2000 Mini HVLP Spray Paint Gun Gravity Feed Sprayer Repair Tool+-Pro Touch-Up Sp...View Product →