 Search
 English
 中文简体
中文简体 Deutsch
 Español
Content
The same gun, the same paint, the same painter: one cabinet door comes out glass-smooth, and the next one wears orange peel with a sag along the bottom edge. In practice, almost every disappointing spray finish traces back to four adjustable variables: paint viscosity, air pressure, spray distance and pass overlap. Get those right and a modest, well-set-up gun will beat a premium gun in untrained hands every time.
The quick answer: strain and thin the paint to the gun's specification, feed the gun clean and dry air at a stable inlet pressure, hold the air cap 15-20 cm (6-8 in) from the surface for HVLP work, and overlap each pass by about 50% at a steady speed. The rest of this guide walks through equipment choice, setup, technique, defect fixing and cleanup, in the order a professional follows on every job.
Pick the Right Spray Gun Before You Load It
Spray guns differ most in two ways: how paint is fed to the tip, and how much air the technology consumes. Choose the wrong combination and you will fight the gun all day.
Feed systems: how paint reaches the nozzle
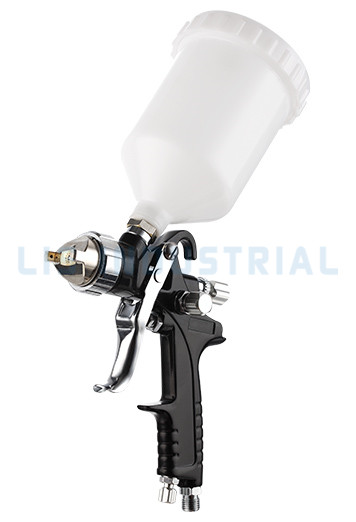
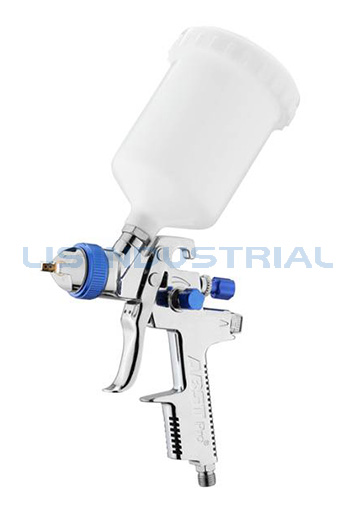
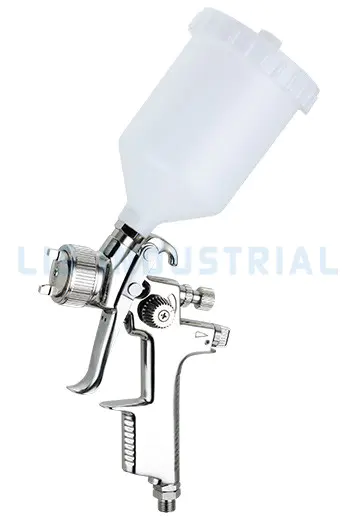
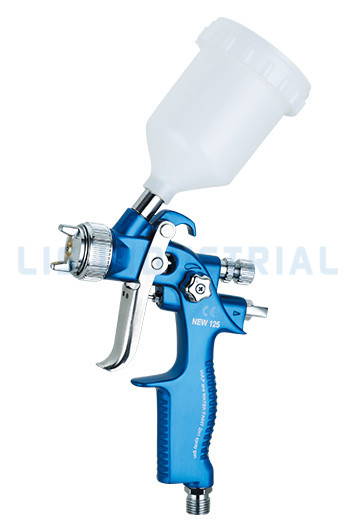
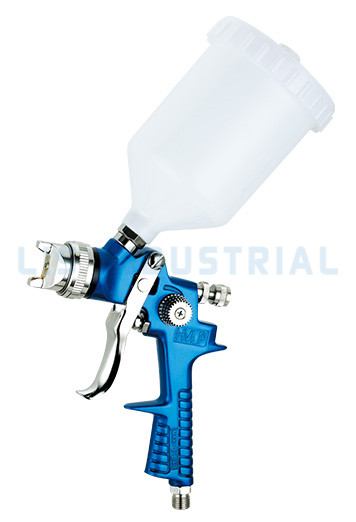
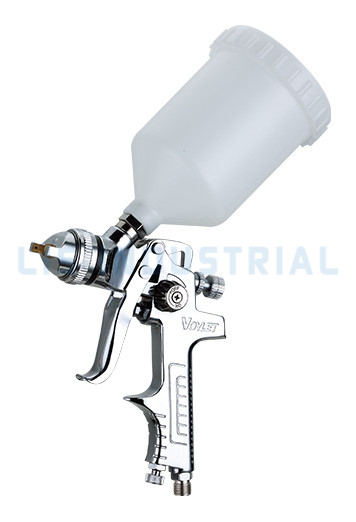
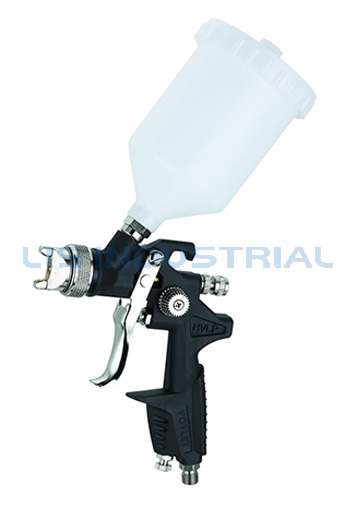
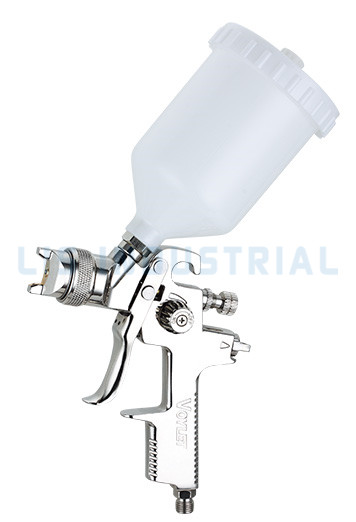
- Gravity feed: the cup sits on top and paint falls into the nozzle. It works efficiently with small batches, cleans up quickly, and is the usual choice for cabinets, furniture and automotive panels, which is why gravity feed spray guns remain the default recommendation for first-time buyers.
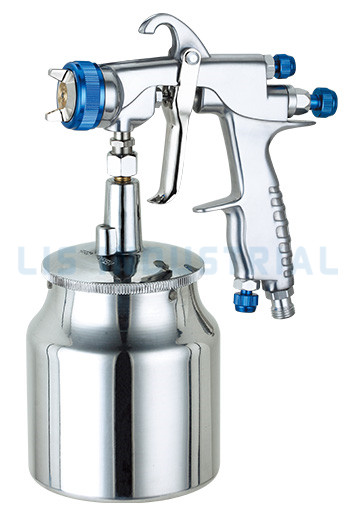
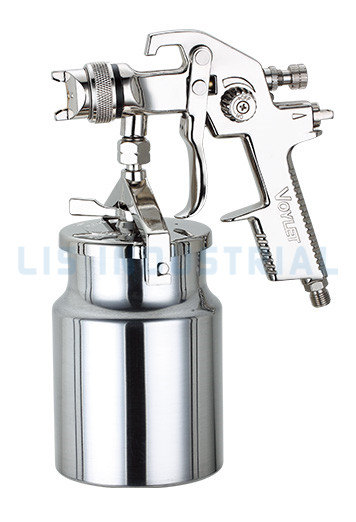
- Suction (siphon) feed: the cup hangs underneath and airflow draws paint up. Simple and proven, but slower with thicker materials.
- Pressure feed: a remote paint tank pushes material to the gun, so you can spray a long time without refilling and handle heavier, high-viscosity coatings.
Air technology: how much paint actually lands on the surface
Conventional guns atomize well but bounce a large share of paint into the air as overspray. HVLP (high volume, low pressure) guns use a large air volume at low cap pressure to push transfer efficiency much higher, while LVLP (low volume, low pressure) guns chase similar efficiency with a smaller compressor load. Under South Coast AQMD air-quality rules in California, a gun must reach roughly 65% transfer efficiency to qualify as true HVLP, which is the benchmark behind the numbers below.
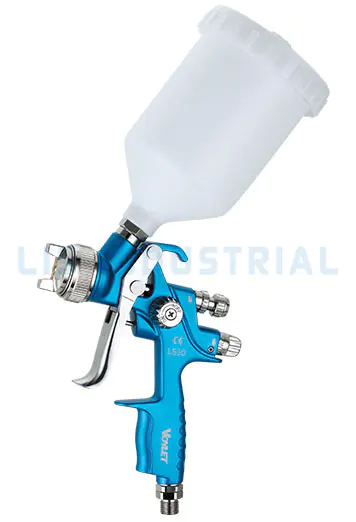
For a first full spray project, a gravity-feed HVLP gun is the most forgiving combination: you can see the paint level, overspray stays moderate, and the finish quality holds up on doors, cabinets and panels.
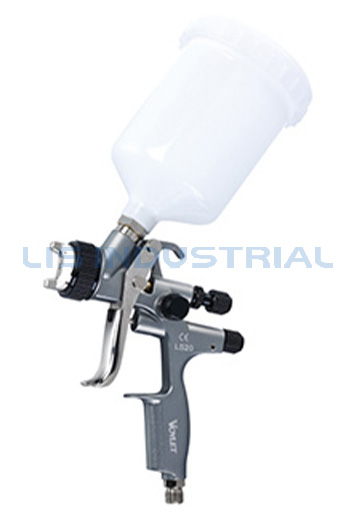 LS20 Gravity-Feed HVLP Spray GunA gravity-feed HVLP gun with 600ml cup and 1.3mm or 1.7mm fluid nozzles suits first spray projects on doors, cabinets and panels, where visible paint level and controlled overspray help deliver a quality finish.View Product →
The radar chart summarizes the trade-offs: gravity HVLP leads on finish quality and material savings, pressure feed wins long production runs, and airless delivers sheer coverage speed on large surfaces.
Know the Parts of Your Spray Gun
Every control on the gun exists to shape one of two things: the amount of paint, or the shape of the air. Learn them once and setup becomes a two-minute routine instead of guesswork.
- Fluid nozzle and needle: they meter the paint. Fine finishing typically uses 1.0-1.4 mm tips, while primers and higher-viscosity coatings need 1.8 mm and up.
- Air cap: shapes the atomizing air and sets the fan. Keep its holes clean with the soft tools supplied, never with wire.
- Fan-pattern knob: widens or narrows the oval. Wide fans cover panels; narrow fans suit spars, frames and edges.
- Fluid-control knob: limits needle travel, meaning how much paint a full trigger pull releases.
- Cup vent: a blocked vent hole causes the classic spitting gun, so check it first when the pattern stutters.
Prepare the Paint Before You Spray
Sprayed paint is thinner than brushed paint, and there is no way around it: the nozzle needs fluid light enough to atomize at the gun's working pressure. Work through these steps in order.
- Check the paint data sheet for its spray-reduction ratio and, if given, a DIN 4 or Ford cup viscosity value; aim for that spec rather than guessing.
- Mix thoroughly, because pigment settles in the can faster than most users expect.
- Strain the mixed paint through a fine filter straight into the cup, filling it about two-thirds so the vent stays clear.
- Spray a test pattern onto kraft paper or cardboard. You want an even, unbroken oval: a heavy center means thin further or open the fluid knob, while heavy wings at the ends usually mean too much air for the fluid setting.
- Mask the workspace and plan your ventilation before the first real pass, not after.
If you are equipping a workshop from zero, a matched set removes the mismatched-tool problem: cup, wrenches, cleaning brush and viscosity cup arrive together and are sized for the same gun.
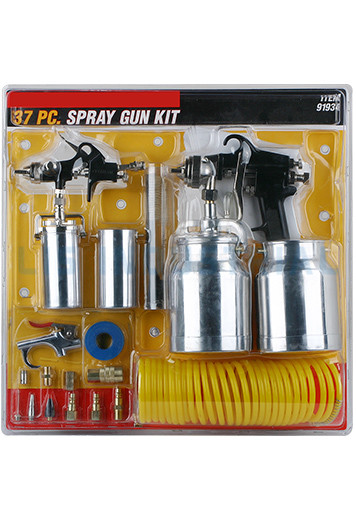 SGK37 Spray Gun Starter Kit with Suction CupsThis kit pairs a PQ-2UA high-pressure gun with 1000cc and 200cc suction cups, a touch-up gun and air fittings, so a new workshop gets matching accessories sized together instead of mismatched tools.View Product →
Set Up a Steady, Clean Air Supply
An air-spray gun is only as good as the air behind it. Size the compressor so its output comfortably exceeds the gun's air consumption (CFM at the recommended inlet pressure); an undersized unit pulses and lets pressure sag mid-pass, which shows up as light stripes between passes. Fit a filter-regulator close to the gun so water and oil never ride the airstream onto your finish, and drain the tank before long sessions.
For touch-up guns, airbrushes and small gravity cups, a compact oil-free unit is often enough and keeps maintenance simple, since there is no oil to carry over into the finish.
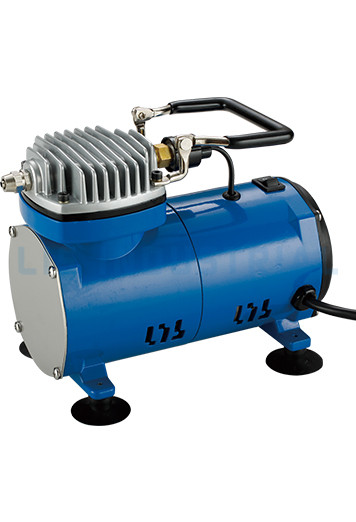 V-505 Portable Mini Airbrush CompressorThis 95W oil-free mini compressor delivers 0.65 CFM through a 1/4-inch connector, offering the compact, low-maintenance air supply that touch-up guns and small gravity cups need while keeping oil out of the finish.View Product →
Spray Technique: Distance, Overlap and Trigger Control
Good technique is mostly discipline: the gun does the atomizing, while you control geometry. Five habits cover most of the result.
- Distance: hold the cap 15-20 cm (6-8 in) from the surface for HVLP; wider conventional fans tolerate up to about 25 cm (10-12 in). Whatever the manual says, keep it constant, because drifting distance is the top cause of uneven film.
- Keep the gun square: the air cap stays perpendicular to and parallel with the surface. Arc your wrist at the end of a stroke and the edges of the pass go on thin.
- Trigger off the edge: pull the trigger just before the pass starts and release just after it ends, so every start and stop lands on masked paper instead of the workpiece.
- Overlap about 50%: aim the next pass at the middle of the previous one so film thickness stays even across the panel.
- Steady speed, thin coats: two lighter passes beat one wet pass almost every time; let the flash-off time recommended by the paint maker pass before the next coat.
For a fuller walkthrough of grip, stance and stroke sequencing, see our guide on how to hold and operate a paint spray gun.
Fix These Five Spray Defects First
Diagnose from the finish, then change one variable at a time. The five calls below are the ones we hear most often from workshops and distributors, and each has a first fix worth trying before anything else.
| The five most common spray defects, their usual causes and the first fix to try. | ||
| Defect | Usual cause | First fix |
| Orange peel (dimpled surface) | Paint too viscous, or air pressure too low to atomize | Thin per the data sheet and raise inlet pressure in small steps |
| Runs and sags | Too much fluid, gun too close, or passes too slow | Increase distance slightly, speed up, close the fluid knob |
| Dry, rough or dusty finish | Gun too far, or air pressure too high | Move closer and reduce pressure; use a slower reducer in hot weather |
| Spitting or pulsing | Loose fluid nozzle, clogged tip, blocked cup vent or low paint | Tighten the nozzle, clear the tip, open the vent, refill the cup |
| Fisheyes (small craters) | Silicone, wax or oil contamination on the surface or in the air line | Clean and degrease the panel; add an air-line filter and moisture trap |
Clean the Gun Before the Paint Dries
Dried paint inside a fluid nozzle ruins atomization faster than any other mistake. Cleanup is a ten-minute job if you do it immediately, and an hour of soaking if you wait until tomorrow.
- Empty leftover paint back into a labeled container and rinse the cup.
- Flush the gun with the manufacturer's recommended solvent until it runs clear through the nozzle.
- Remove the air cap, fluid nozzle and needle and soak them briefly; brush gently, because the brass air cap deforms easily.
- Wipe the housing, apply a drop of lubricant to the needle and packing, and reassemble.
- Store the gun in its case with the trigger released.
A gun that gets this treatment after every session holds its spray pattern for years; a gun that only gets rinsed now and then never sprays like it did on day one, no matter what it cost.
Spray Gun FAQ
Q1. What pressure should I set my spray gun to?
Start at the inlet pressure on the gun's data sheet, commonly around 2 bar for gravity-feed HVLP guns, measured with the trigger pulled, then tune with a test card.
Q2. How far should a spray gun be from the surface?
Most HVLP guns work at 15-20 cm (6-8 in); conventional and airless setups allow more. Keep the distance constant through every pass.
Q3. How do I thin paint for a spray gun?
Use the reducer and ratio on the paint's data sheet, verify with a viscosity cup when a value is given, and confirm with a test pattern on cardboard.
Q4. Why is my spray gun spitting paint?
Usually a loose fluid nozzle, a clogged fluid tip, a blocked cup vent hole or paint running low; check those four before blaming the compressor.
Q5. What size air compressor do I need for a spray gun?
Match the compressor's CFM output to the gun's demand at its rated pressure with headroom to spare; small touch-up guns can run on mini oil-free units, full-size HVLP guns need more air.
Q6. How much should I overlap each spray pass?
About 50%: aim the next pass at the center of the previous one so film thickness stays even across the panel.
Q7. How do I clean a spray gun after painting?
Flush with the correct solvent while the paint is still wet, then remove and soak the air cap, fluid nozzle and needle before reassembling with a drop of lubricant.
Q8. Is HVLP better than airless for beginners?
For fine finishing such as cabinets, doors and automotive panels, yes: HVLP offers more control and less overspray, while airless wins on raw speed for walls and large exterior areas.