 Search
 English
 中文简体
中文简体 Deutsch
 Español
Content
- 1 Four rules that decide the finish
- 2 Why the ratio on the can is only a starting point
- 3 Step by step: mixing a batch that sprays cleanly
- 4 Matching the mix to your gun and feed system
- 5 Common mixing faults and how to correct them
- 6 Waterborne and 2K products: two different habits
- 7 Write the mix down and stop guessing
- 8 Frequently asked questions
Two litres of enamel, a gravity-fed gun and a 1.3 mm fluid tip: pull the trigger and you either get a wet, glassy coat or a dry, sandy mist. The gun is rarely the reason. The mix is. Bring the paint to the right viscosity before it reaches the air cap and most classic spraying faults simply stop happening.
The short answer: measure the thinner by volume in a graduated cup, add it in small increments while stirring, take the coating to a viscosity your nozzle can actually atomize, and strain the mix into the gun cup. Everything below explains the numbers behind those four habits, and where they change from one gun to another.
Four rules that decide the finish
Conclusion first. If you remember only four things about mixing, remember these:
- Measure by volume, never by eye. A splash that looks harmless in a touch-up cup is a completely different percentage in a litre of paint. Use a graduated mixing cup.
- Reducer goes in first, paint second. Fill to the ratio mark, then add paint to the paint line. Stir once and the ratio is visible on the side of the cup.
- Judge the mix by viscosity, not by ratio alone. Temperature, pigment load and shelf age all move viscosity. The ratio is the recipe; the flow is the result.
- Strain before you spray. A 125-190 micron cone filter costs cents and removes the skins and grit that cause spitting and clogged nozzles.
Figure 1: typical starting ranges for reducer, expressed as a percentage of paint volume in coating technical data sheets. Treat them as starting points and confirm against the label of the product in your hand.
Why the ratio on the can is only a starting point
Coating manufacturers publish a thinning range rather than a single figure, and they do it for a good reason: two cans of the same product, stored in different conditions, can need different amounts of reducer to reach the same flow. A stated range of "5-15 %" is not vagueness, it is the real working window.
Viscosity also moves with temperature. A shop at 25 degrees Celsius thins a given paint more than the same shop at 10 degrees, so a mix that sprayed perfectly in summer can come out grainy in winter. Solvent-borne paint left open in a cup also thickens as solvent evaporates, which is why a batch that sits for an hour behaves differently from a fresh one.
Flow cup or drip test?
A flow cup gives you a repeatable number: it measures the seconds a mix needs to drain through a calibrated orifice. With a Zahn #2 cup, many solvent-borne coatings atomize well when the mix drains in roughly 18-22 seconds, and slightly slower mixes suit conventional high-pressure guns. Without a cup, use the drip test: lift the stir stick out of the mix. Paint that runs off in a thin, continuous stream is close; paint that falls in slow drops is still too thick; paint that runs like water and drops pigment immediately has gone too far.
Whatever the numbers say, use the reducer the manufacturer specifies. Never thin a solvent-borne coating with water, because the resin can curdle and any film that does form stays soft. Waterborne products take water or a dedicated additive, and even then distilled water is safer than tap water, since dissolved minerals can cause surface defects.
Step by step: mixing a batch that sprays cleanly
This is the sequence we recommend for a first batch, whether you are spraying a bumper, a cabinet door or a garden gate.
- Read the technical data sheet, not just the can. It states the reducer type, the thinning range, the fluid tip size and, for 2K products, the pot life.
- Bring the paint to room temperature. Cold paint hides its true viscosity and asks for extra reducer you cannot take back.
- Pour reducer to the mark first, so you can see exactly how much has gone in.
- Add paint up to the ratio line and stir slowly for 30-60 seconds. Stirring rather than shaking keeps air bubbles out of the mix.
- Check viscosity with a flow cup or the drip test before deciding on another 2-3 percent of reducer.
- Strain the mix through a cone filter straight into the gun cup.
- Test spray on cardboard at your normal working distance, usually 15-20 cm, with the settings you intend to use.
- Adjust in small steps and write down what you did. Two or three percent is a real change; ten percent is a different coating.
Spraying a full set of parts or a whole panel? Mixing one larger batch in a pressure tank keeps the ratio identical from the first part to the last, instead of stopping every twenty minutes to mix again.
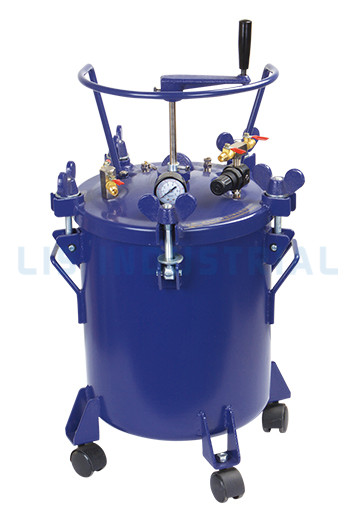 PT-20 Pressure Paint Tank for Larger Batch MixingA pressure paint tank positioned for larger spray batches, helping keep mix ratio consistent from first part to last.View Product →
Figure 2: the three-step mixing sequence, drawn as an isometric structure. Reducer is measured first, paint is added to the ratio line, and the finished batch is stirred and strained before it reaches the gun cup.
Matching the mix to your gun and feed system
The same can of paint often needs two different mixes for two different guns, because guns lift and atomize fluid in different ways.
| Feed system | Reducer added | Target flow, Zahn #2 | Practical note |
| Gravity HVLP, 1.3-1.4 mm | 5-15 % | 18-22 s | Lowest pressure, best transfer efficiency, least overspray |
| LVLP, gravity | 5-15 % | 18-22 s | Useful where compressor output is limited |
| Suction (siphon) feed | 10-20 % | 20-25 s | A thinner mix is needed to lift paint up the tube |
| Pressure feed or tank | 5-20 % | 18-22 s | Constant flow for large batches, set at the regulator |
| Conventional high pressure | 10-25 % | 20-26 s | Wider pattern, more overspray, more reducer required |
With an HVLP gravity gun, mix towards the low end of the thinning range and let the air cap do the work. HVLP spray guns atomize at low pressure, so they need noticeably less reducer than a siphon gun with the same tip size, and over-thinning them just creates runs and extra overspray.
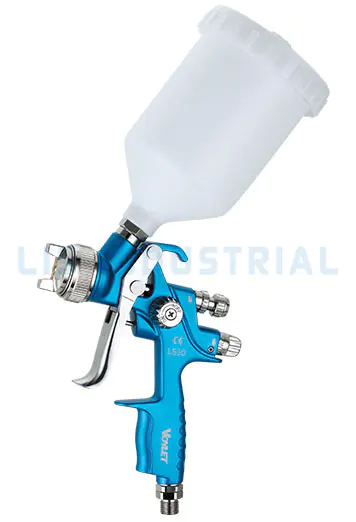
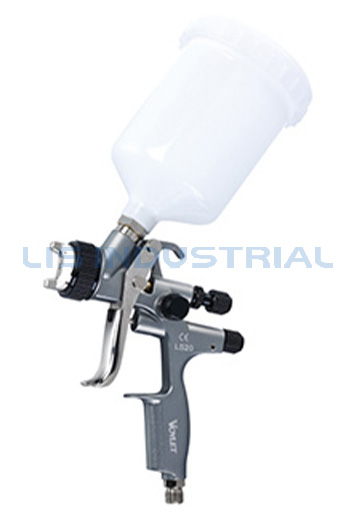 LS20 HVLP Gravity Spray Gun with 1.3/1.7 mm NozzlesGravity-feed HVLP spray gun with 600 ml cup, 29 PSI, and 1.3/1.7 mm nozzles for automotive, plastic, metal, and woodwork top coats.View Product →
A conventional high-pressure gun is the opposite case. It moves more air and produces a wider, softer pattern, and the mix usually has to be thinner to keep up with that airflow. Mix in 2-3 percent steps rather than one large addition, and re-test the pattern each time.
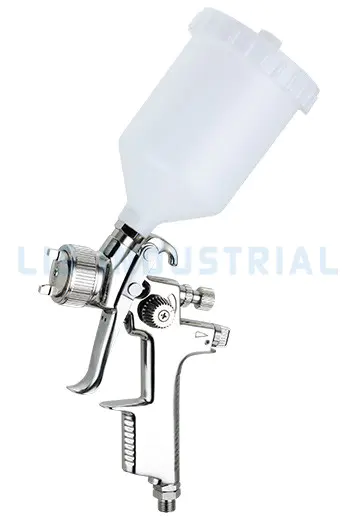
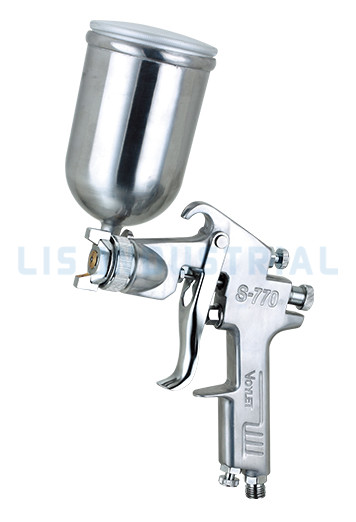 S770G Economical Conventional Spray Gun for Automotive RepairEconomical conventional gravity-feed spray gun with 400 ml cup, 50 PSI, and multiple nozzle sizes for automotive repair painting.View Product →
Common mixing faults and how to correct them
Most spray defects that look like equipment problems actually start in the mixing cup.
| Symptom | Typical mixing cause | First correction |
| Orange peel, pebbled film | Mix too thick or fluid tip too small | Add 2-3 % reducer, check tip size against the data sheet |
| Dry, sandy overspray | Too much reducer or excess air pressure | Reduce thinner, lower inlet pressure |
| Runs and sags | Over-thinned mix applied too heavily | Return to the labelled range and apply thinner coats |
| Fish eyes or craters | Silicone or oil contamination from a dirty cup | Use a clean cup and fresh thinner, strain the batch |
| Spitting, clogged nozzle | Unstrained mix or dried skins in the cup | Strain through a 125-190 micron filter |
| Blotchy metallics | Reducer separating in an over-thinned batch | Re-stir, cut back the reducer, use a slower grade |
If the mix is right and the finish still fails, the problem is usually technique rather than chemistry. Gun distance, overlap and trigger timing are covered in this spray technique guide.
Waterborne and 2K products: two different habits
Waterborne basecoats usually need less reduction, often 5-10 percent distilled water or a manufacturer's additive, and they flash off faster in a warm shop, so mix smaller batches that you can use within the hour.
Two-component products are a different discipline again: the activator ratio is chemistry, not feel. Measure it exactly as specified, reduce only after both parts are fully combined, and respect the pot life. A 2K mix that has started to gel will not flow through a 1.3 mm tip, no matter how much reducer you pour in afterwards.
Write the mix down and stop guessing
Painters who get repeatable results keep a simple log: product and batch code, reducer percentage, shop temperature, flow-cup seconds, fluid tip size, inlet pressure and the result. Three or four batches is normally enough to find the mix that suits one gun and one coating, and after that you can repeat it instead of re-inventing it.
Frequently asked questions
What is the correct paint-to-thinner ratio for a spray gun?
There is no universal figure. Solvent-borne coatings are usually reduced by 5-20 percent by volume for air-atomized guns, and up to 25 percent for siphon or conventional setups. Start at the low end of the range printed on the label and adjust from there.
How do I know when the paint is thin enough to spray?
Use a flow cup or the drip test. Many solvent-borne paints spray well when they drain through a Zahn #2 cup in about 18-22 seconds; without a cup, a mix that runs off the stir stick in a thin, continuous stream is usually close.
Can I thin paint with water for a spray gun?
Only waterborne paints can be thinned with water. Adding water to an alkyd or solvent-borne enamel can curdle the resin and leave a soft film. For water-based products use distilled water or the maker's additive, typically 5-10 percent.
How much thinner should I add to HVLP paint?
HVLP guns atomize at low pressure, so they usually need less reducer than a siphon gun: often 5-15 percent by volume. Add it in 2-3 percent steps and test with the exact air cap and fluid tip you will spray with.
Why does sprayed paint look like orange peel?
Orange peel usually means the mix is too thick, the fluid tip is too small or the air pressure is low. Thin the next batch by 2-3 percent, set the regulator to the gun's specified pressure, and keep the nozzle 15-20 cm from the surface.
Do I need to strain paint before spraying?
Yes. A 125-190 micron cone filter catches skins, pigment lumps and dust that would otherwise clog the nozzle or spit onto the panel. Strain the mixed batch into the gun cup, and never pour leftovers back into the original can.