Search
 English
 中文简体
中文简体 Deutsch
 Español
Content
- 1 How an HVLP Spray Gun Works — and Why Problems Develop
- 2 Most Common Causes and How to Fix Them
- 3 Diagnosing Spray Pattern Problems Visually
- 4 Correct Settings for Different Coatings in a Gravity Feed HVLP Gun
- 5 Step-by-Step Cleaning Routine to Prevent Future Problems
- 6 Compressor Requirements for HVLP Spray Guns
- 7 About Ningbo Lis Industrial Co., Ltd.
- 8 Frequently Asked Questions
When an HVLP spray gun is not spraying properly, the cause is almost always one of four things: a clogged fluid passage or nozzle, incorrect air pressure, paint viscosity that is too thick, or a worn or improperly assembled needle and nozzle set. Most problems can be diagnosed and fixed in under 30 minutes without special tools. This guide walks through every common failure mode in a Gravity Feed High Volume Low Pressure Spray Gun, explains why each happens, and gives clear, actionable steps to restore a clean, consistent spray pattern.
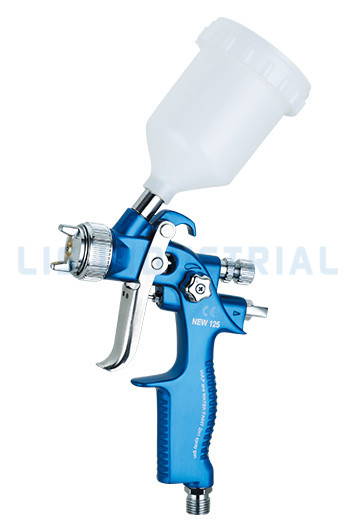
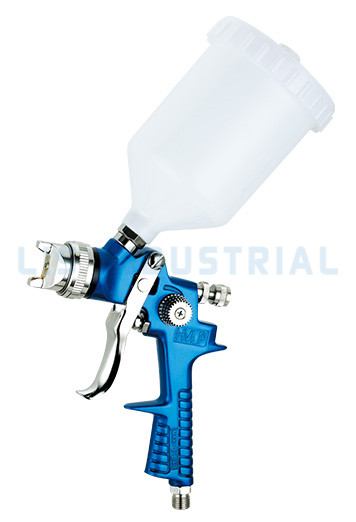
How an HVLP Spray Gun Works — and Why Problems Develop
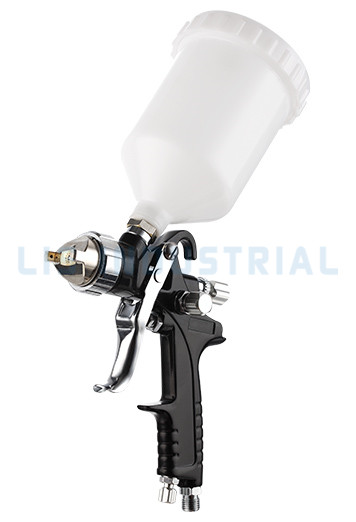
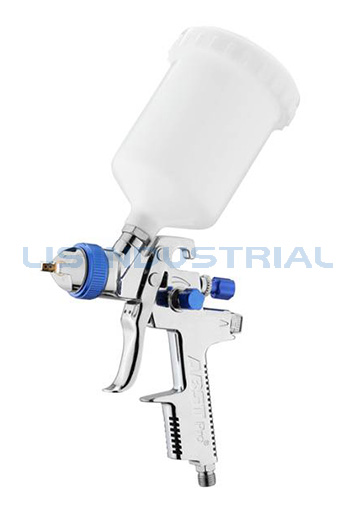
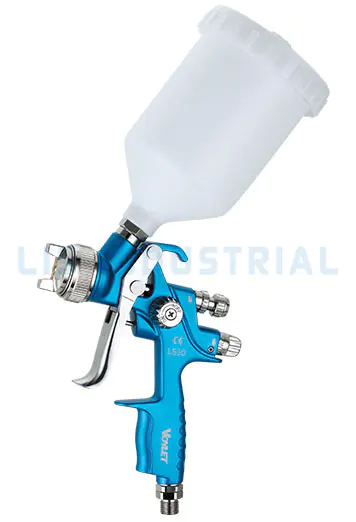
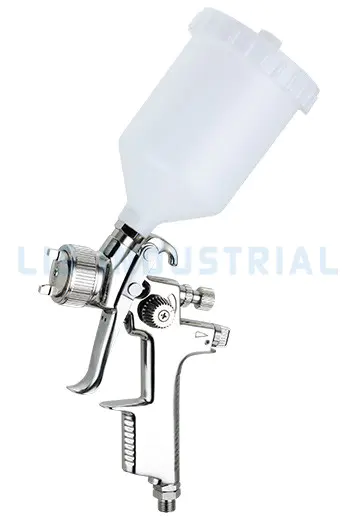
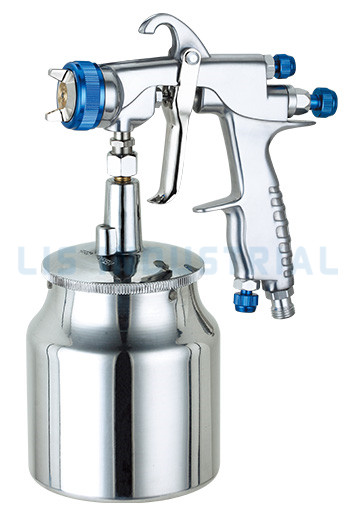
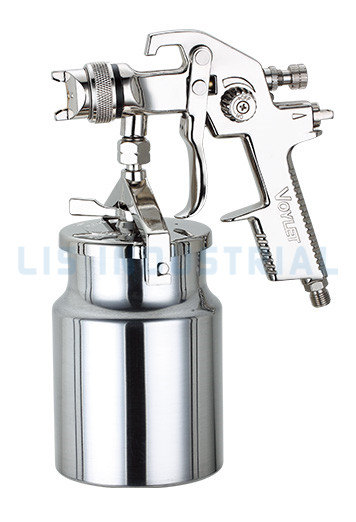
An HVLP spray gun atomizes paint by passing a high volume of air at low pressure — typically 6 to 10 PSI at the air cap — through the fluid stream as it exits the nozzle. The gravity feed design places the paint cup above the gun body, using gravity to supply a steady, consistent flow of material to the fluid tip without requiring a pump.
This system has very tight tolerances. The needle must seat perfectly against the fluid tip to stop flow when the trigger is released. The air cap holes must be clear to shape the fan pattern. The cup vent must allow air in as paint flows out. When any one of these elements is compromised — by dried paint, a worn seal, incorrect pressure, or the wrong paint viscosity — the spray pattern deteriorates or stops entirely.
Most Common Causes and How to Fix Them
Clogged Nozzle, Fluid Tip, or Air Cap
Dried or partially dried paint is the single most frequent cause of HVLP spray gun problems. Even a small deposit of dried material in the fluid tip orifice — which may be as narrow as 1.0 to 1.8 mm depending on the nozzle size — is enough to distort or block the fluid stream entirely. Blocked air cap horn holes cause a misshapen fan: if one horn hole is blocked, the pattern deflects toward the opposite side; if the center holes are partially blocked, atomization becomes coarse and uneven.
Fix: Disassemble the air cap, fluid tip, and needle. Soak components in the appropriate solvent (water for water-based paints, lacquer thinner or gun wash for solvent-based coatings) for 10 to 20 minutes. Use a soft bristle brush — never a metal wire or drill bit, which can enlarge the orifice — to clear all passages. Blow compressed air through each hole individually to confirm they are fully open before reassembly.
Incorrect Air Pressure
HVLP spray guns are designed to operate within a specific pressure band. Running the gun at too low a pressure produces poor atomization — paint lands as large droplets and the fan pattern is narrow or uneven. Too high a pressure causes overspray, excessive bounce-back, and orange-peel texture on the finished surface. Most gravity feed HVLP guns perform correctly with 18 to 29 PSI at the inlet (gun handle), which delivers 6 to 10 PSI at the air cap — the HVLP standard defined by most regulatory bodies.
Fix: Use a regulated air supply with a gauge at the gun inlet rather than relying on the compressor tank gauge. Set inlet pressure per the gun manufacturer's specification. If the compressor output fluctuates significantly under load, the spray pattern will be inconsistent — a storage tank with at least 20 liters capacity helps buffer pressure drops during continuous spraying.
Paint Viscosity Too High or Too Low
Paint that is too thick for the nozzle size will not atomize properly, producing heavy splattering, curtaining, or a stuttering spray. Paint thinned too aggressively loses its film-building properties and may run excessively on the surface. The target viscosity for most HVLP applications is 18 to 28 seconds measured with a #4 Ford Cup viscosity cup — approximately the consistency of whole milk to light syrup.
Fix: Measure viscosity with a Ford Cup or viscosity cup before loading the gun. Thin with the manufacturer's recommended reducer in small increments (typically 5–10% by volume). Note that temperature significantly affects viscosity — the same paint can be pourable at 25°C and too thick to spray at 10°C. Warm paint to room temperature before thinning if working in cool conditions.
Worn, Damaged, or Mismatched Needle and Nozzle
The needle tip and the fluid tip seat must form a perfect seal. A worn needle tip — which develops a flat spot or groove after extended use — will leak fluid even when the trigger is fully released, and will produce a split or uneven spray pattern during use. Using a needle from a different size set than the fluid tip is a common assembly error that creates the same symptoms.
Fix: Inspect the needle tip under good light. Any visible groove, flat spot, or corrosion indicates the needle should be replaced. Always replace needle and fluid tip as a matched set — these components are manufactured together to tolerances of less than 0.05 mm and cannot be mixed between size designations.
Leaking Needle Packing or O-Ring
The needle packing (the seal around the needle shaft where it passes through the gun body) prevents paint from leaking backward toward the trigger mechanism. When the packing dries out or wears, paint seeps around the needle shaft and the gun may drip at the rear or lose spray consistency. Similarly, a degraded cup seal or lid O-ring introduces air into the fluid path, causing a sputtering, inconsistent spray.
Fix: Apply a small drop of petroleum jelly or gun-compatible lubricant to the needle packing after each cleaning session. If leaking persists, replace the packing or O-ring set — these are inexpensive wear parts that should be renewed annually in regular use applications.
Blocked Cup Vent
The gravity feed cup has a small vent hole in the lid that allows air to enter as paint drains down into the gun. If this vent becomes blocked with dried paint or debris, a vacuum builds inside the cup that gradually reduces — and eventually stops — paint flow. The symptom is a spray that starts normally then fades to a thin trickle within the first minute of use.
Fix: Remove the cup lid and clean the vent hole with a fine wire or toothpick. Confirm the vent is clear by blowing through it with gentle lung pressure before reassembly. Clean the vent after every use as part of standard gun maintenance.
Diagnosing Spray Pattern Problems Visually
The shape and texture of the spray pattern on a test panel is a direct diagnostic tool. Knowing what each pattern defect indicates saves significant troubleshooting time:
| Table 1: HVLP spray pattern symptoms, causes, and recommended corrections | ||
| Pattern Symptom | Most Likely Cause | Recommended Fix |
| Pattern deflects to one side | Blocked horn hole on air cap | Soak and clear air cap holes |
| Heavy center, thin edges (center-heavy) | Low air pressure or blocked horn holes | Increase inlet pressure; clean air cap |
| Split pattern (heavy top and bottom) | Air pressure too high; fluid too low | Reduce air pressure; open fluid knob |
| Coarse, spitting spray | Paint too thick; partial nozzle clog | Thin paint; clean nozzle and fluid tip |
| Narrow fan pattern | Fan width knob closed; low air pressure | Open fan width adjustment; raise pressure |
| Fading flow mid-spray | Blocked cup vent; compressor undersized | Clear vent; check compressor CFM output |
| Dripping from nozzle at rest | Worn needle tip or needle packing | Replace needle and fluid tip set; lubricate packing |
Correct Settings for Different Coatings in a Gravity Feed HVLP Gun
A Gravity Feed High Volume Low Pressure Spray Gun is not a one-setting tool. Different materials require different nozzle sizes, pressures, and viscosity preparations to spray correctly:
| Table 1: HVLP spray pattern symptoms, causes, and recommended corrections | ||
| Pattern Symptom | Most Likely Cause | Recommended Fix |
| Pattern deflects to one side | Blocked horn hole on air cap | Soak and clear air cap holes |
| Heavy center, thin edges (center-heavy) | Low air pressure or blocked horn holes | Increase inlet pressure; clean air cap |
| Split pattern (heavy top and bottom) | Air pressure too high; fluid too low | Reduce air pressure; open fluid knob |
| Coarse, spitting spray | Paint too thick; partial nozzle clog | Thin paint; clean nozzle and fluid tip |
| Narrow fan pattern | Fan width knob closed; low air pressure | Open fan width adjustment; raise pressure |
| Fading flow mid-spray | Blocked cup vent; compressor undersized | Clear vent; check compressor CFM output |
| Dripping from nozzle at rest | Worn needle tip or needle packing | Replace needle and fluid tip set; lubricate packing |
Step-by-Step Cleaning Routine to Prevent Future Problems
The vast majority of HVLP spray gun problems are caused by inadequate cleaning after use. Following a consistent cleaning procedure after every session eliminates most clogging and seal degradation issues before they develop:
- Empty and flush the cup immediately after use. Pour remaining paint back into the can, then add a small amount of clean solvent to the cup and spray it through the gun until it runs clear.
- Remove the air cap and soak it. Place the air cap in a container of appropriate solvent for 10–15 minutes while cleaning the rest of the gun.
- Remove the fluid tip and needle. Wipe the needle carefully with a solvent-dampened cloth. Do not scrub aggressively — the tip geometry must remain intact.
- Clean the fluid tip passage with a soft brush. Bristle brushes specifically sized for gun cleaning are available and are the correct tool. Never use metal probes or drill bits.
- Use compressed air to blow out all passages. After solvent cleaning, blow air through the fluid channel, all air cap holes, and the cup vent to confirm each is clear.
- Lubricate the needle packing before reassembly. A single small drop of petroleum jelly or gun lubricant on the needle shaft and packing area keeps the seal supple and extends its service life.
- Reassemble and test-spray with clean solvent. Confirm a clean, symmetrical fan pattern before storing. This verifies the gun is ready for the next use and catches any assembly errors immediately.
Compressor Requirements for HVLP Spray Guns
An underpowered compressor is a frequently overlooked cause of poor HVLP performance. Unlike conventional spray guns that can operate on small compressors, HVLP guns require a sustained high volume of air. Running a gravity feed HVLP gun from a compressor that cannot maintain adequate airflow causes pressure to drop under load, producing an inconsistent spray that varies with each trigger pull.
Minimum compressor specifications for reliable HVLP operation:
- Free air delivery: At least 6 to 9 CFM (170–255 L/min) sustained output for most standard HVLP guns
- Tank capacity: 20 liters (5 gallons) minimum; 50 liters or larger is recommended for continuous work
- Working pressure: 40 to 60 PSI at the tank, providing adequate headroom for the regulator to maintain consistent gun inlet pressure
- Air line diameter: Use a minimum 8 mm (5/16 inch) inner diameter hose — undersized hoses create pressure drop between the compressor and gun even when tank pressure is adequate
- Moisture separator / filter: Water in the air line causes the paint film to blush (turn milky) and can contaminate the gun internally — a quality inline filter is essential
About Ningbo Lis Industrial Co., Ltd.
Ningbo Lis Industrial Co., Ltd. is an advanced China HVLP Spray Gun manufacturer and Gravity Feed High Volume Low Pressure Spray Gun factory. The company's products have earned CE and GS certifications, reflecting a consistent commitment to international safety and quality standards across its full product range.
Lis maintains a strong R&D team capable of delivering OEM manufacturing to customer drawings or samples, as well as full ODM and OEM development services tailored to specific customer requirements. The company has built a worldwide marketing and service network, with products widely distributed across Europe, North America, the Middle East, South Africa, and East Asia, underpinned by established business relationships in each of these markets.
Air and pneumatic HVLP spray guns are fully customizable through Lis, enabling customers to specify configurations suited to their particular professional or industrial applications.