 Search
 English
 中文简体
中文简体 Deutsch
 Español
Content
- 1 How to Use a Spray Gun to Paint: A Quick Overview
- 2 Understanding How an HVLP Spray Gun Works
- 3 Preparing the Work Area Before You Use a Paint Sprayer
- 4 How to Use a Paint Sprayer With an Air Compressor
- 5 How to Adjust a Paint Spray Gun for Even Coverage
- 6 Step by Step Technique for Spray Gun Painting
- 7 Spray Gun Performance Reference Charts
- 8 Common Mistakes to Avoid When Using a Paint Gun
- 9 Choosing a Paint Spray Gun System for Different Projects
- 10 Cleaning and Maintaining a Manual Spray Paint Gun
- 11 About Ningbo Lis Industrial
- 12 Frequently Asked Questions About Spray Gun Painting
- 12.1 Q1: How do you use a spray gun to paint a surface evenly
- 12.2 Q2: How do you use a paint sprayer with an air compressor
- 12.3 Q3: How do you adjust a paint spray gun fan pattern
- 12.4 Q4: How do you use a paint gun for the first time
- 12.5 Q5: How do you spray paint smoothly with a spray gun
- 12.6 Q6: How do you adjust paint gun pressure correctly
- 12.7 Q7: How do you use an HVLP paint sprayer
- 12.8 Q8: How do you set up an HVLP spray gun before painting
- 12.9 Q9: What is a good paint sprayer for beginners
- 12.10 Q10: How do you paint a room with a spray gun
How to Use a Spray Gun to Paint: A Quick Overview
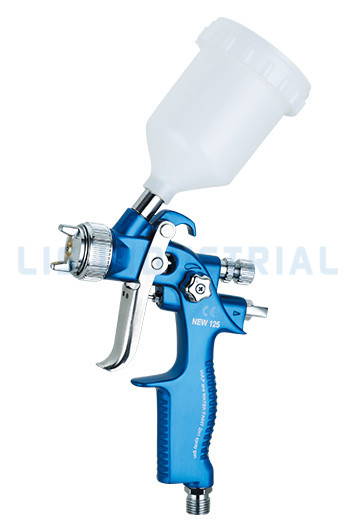
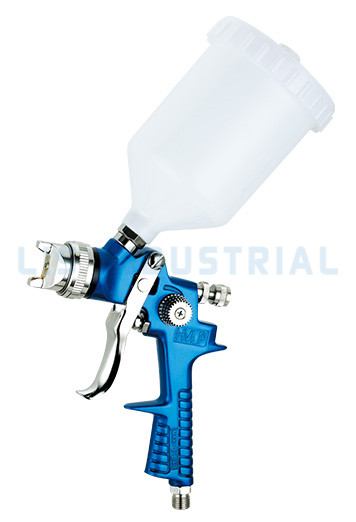
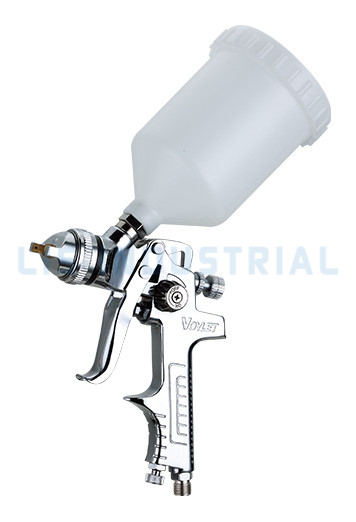
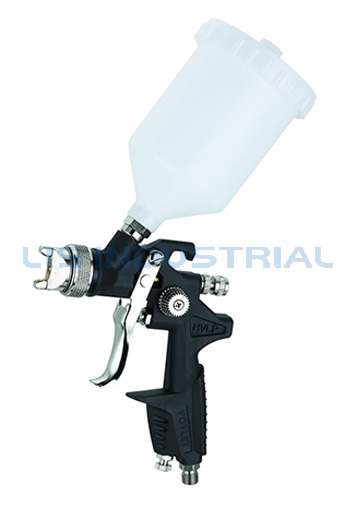
Using a spray gun to paint comes down to three core actions: preparing the surface and the coating, adjusting the gun for the correct fan pattern and air pressure, then applying the material in smooth, overlapping passes held at a consistent distance from the surface. An HVLP Spray Gun is built around a low pressure, high volume airflow design, which helps direct more of the coating onto the surface instead of into the surrounding air as overspray. Once the basic setup and motion are understood, the same core process applies whether the project involves a compact paint spray gun system at home, a piece of furniture, or a full vehicle panel.
- Clean and prepare the surface, then mask off any area that should stay paint free
- Strain and thin the paint or coating to the consistency recommended for the material
- Fill the cup, connect the air supply, and check the trigger for smooth movement
- Test the spray pattern on scrap material and adjust the fan width and fluid flow
- Hold the gun six to eight inches from the surface and keep it moving in even passes
- Overlap each pass by about half the width of the fan pattern for uniform coverage
- Clean the gun thoroughly once the project is finished
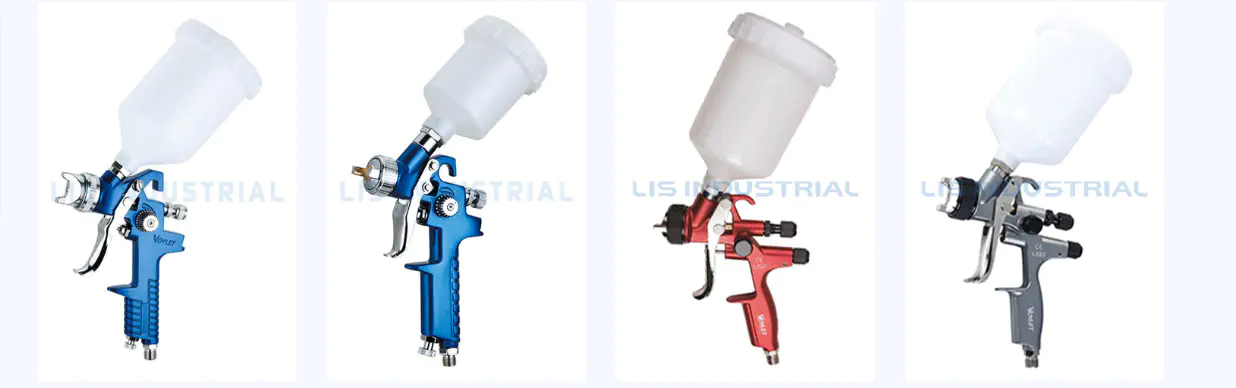
Understanding How an HVLP Spray Gun Works
An HVLP Spray Gun uses a high volume of air moving at a comparatively low pressure to atomize paint into fine droplets. This differs from a conventional paint gun, which typically relies on higher pressure air to break up the fluid, sending a larger share of material past the target surface as overspray. Because an HVLP spray gun system tends to deposit more of the coating onto the workpiece itself, many painters find it easier to control on detailed shapes, vertical panels, and enclosed spaces, and cleanup around the work area is often simpler as a result.
Gun Spray Painting Versus Rolling or Brushing
Gun spray painting produces a thinner, more even film compared with a roller or brush, and it reaches into corners, moldings, and contoured shapes without leaving lap marks or bristle lines. The trade off is that spray application depends more heavily on correct thinning, distance, and motion, so the technique benefits from a short practice run on scrap material before starting on the actual piece.
Preparing the Work Area Before You Use a Paint Sprayer
Good results with any paint spray gun system begin well before the trigger is pulled. Surface preparation, material selection, and a controlled work environment all influence how the finished coat looks once it has dried.
Surface Preparation Checklist
- Remove dust, grease, and loose material from the surface with a suitable cleaner
- Sand glossy or uneven areas so the new coating has something to grip onto
- Fill dents or gaps and allow the filler to cure fully before sanding it smooth
- Mask trim, hardware, glass, and nearby surfaces with tape and paper or sheeting
- Wipe the surface with a tack cloth right before spraying to lift remaining dust
Ventilation and Personal Protection
Spray painting releases fine airborne particles and, depending on the coating, solvent vapor. Working in a space with steady airflow, staying away from open flames or sparks, and wearing a properly fitted respirator along with eye protection are common practices among painters who use a spray gun on a regular basis. A simple spray booth or enclosure, even one built for a single project, helps contain overspray and keeps dust out of a wet finish.
How to Use a Paint Sprayer With an Air Compressor
Setting up an HVLP spray gun starts with matching the gun to a compressor that can supply enough continuous air volume, since running short on air mid pass is one of the more common causes of an uneven coat.
- Check that the compressor tank is drained of moisture and the air line is free of debris
- Attach an inline filter and regulator if the compressor does not already include one
- Connect the air hose to the spray gun inlet and confirm the fitting is snug
- Strain the paint through a mesh filter and pour it into the cup up to the fill line
- Seal the cup lid fully so pressure inside the system stays consistent
- Open the compressor air valve gradually and set the starting pressure at the gun
How to Adjust a Paint Spray Gun for Even Coverage
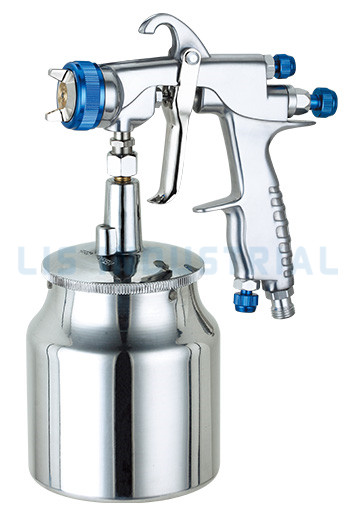
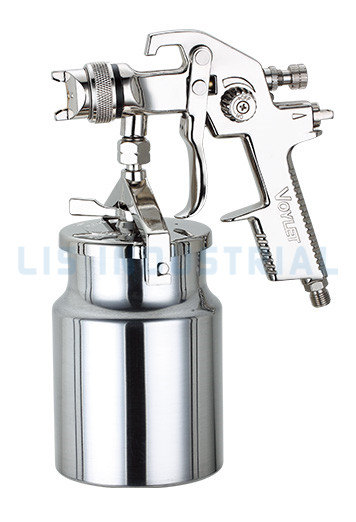
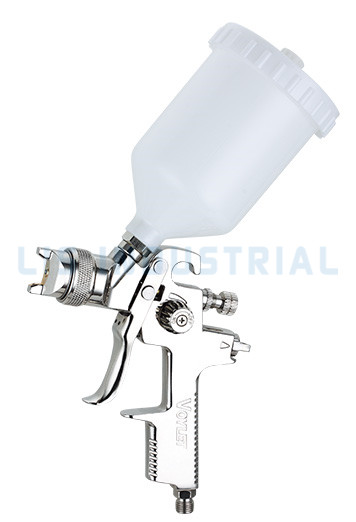
A manual spray paint gun typically has three points of adjustment: the air cap ring that shapes the fan pattern, the fluid knob that limits how far the needle pulls back, and the overall spray gun pressure supplied by the compressor. Becoming familiar with each control makes it easier to match the gun to different coatings and surfaces.
| Reference points for adjusting a paint spray gun before starting a project | ||
| Control | What It Adjusts | Starting Point |
| Fan Pattern Ring | Switches between a round pattern and a wide fan pattern | Wide fan for flat panels, round pattern for edges and corners |
| Fluid Adjustment Knob | Controls how much paint releases with each pull of the trigger | Open partway, then increase gradually while test spraying |
| Air Pressure Regulator | Controls the paint gun pressure feeding the gun | Set within the range listed for the gun, then fine tune on scrap material |
Step by Step Technique for Spray Gun Painting
- Hold the gun perpendicular to the surface, roughly six to eight inches away
- Begin the pass slightly before reaching the edge of the surface, then pull the trigger
- Move the gun in a straight, steady line at a consistent speed across the surface
- Release the trigger slightly past the far edge before stopping the motion
- Overlap each new pass by about half the width of the previous one
- Keep the gun moving at all times while the trigger is engaged to avoid heavy spots
- Apply two to three light coats rather than one heavy coat, allowing flash time between them
Spray Gun Performance Reference Charts
The charts below summarize commonly used starting points for spray gun pressure, spray distance, and gun selection. These figures are general reference ranges that many painters use as a starting point, and actual settings should still be fine tuned on scrap material with the specific coating and gun being used.
Typical Air Inlet Pressure Range by Spray Gun Type
General inlet pressure ranges commonly used as starting points for each spray gun type
Paint Transfer Efficiency Relative to Spray Distance
General trend of coating transfer efficiency as spray distance changes, based on common field practice
Typical Time Allocation for a Spray Painting Project
General share of project time spent on each stage of a typical spray painting job
HVLP Spray Gun Compared With a Conventional Paint Gun
General comparison of common characteristics between HVLP and conventional spray guns
HVLP Spray Gun Structure Overview
Simplified structural layout showing the main parts of an HVLP spray gun
Common Mistakes to Avoid When Using a Paint Gun
- Holding the gun too close, which causes runs and heavy buildup
- Arcing the gun instead of keeping it parallel to the surface
- Spraying paint that has not been strained or thinned correctly
- Skipping the test pattern step on scrap material before the real surface
- Setting spray gun pressure too high for the coating being applied
- Rushing the pass speed, which leaves thin or uneven sections
- Not overlapping passes enough, which creates visible banding
- Letting the cup run low, which causes sputtering near the end of a pass
Choosing a Paint Spray Gun System for Different Projects
Whether a project calls for a dedicated primer paint spray gun, a general purpose spray gun for spray paint finishes, or a compact paint spray gun for home use, matching the gun to the coating and surface makes the whole process noticeably smoother.
Spray Gun for Car Painting
Automotive refinishing usually calls for finer atomization and a controlled fan pattern, since panel gaps and body lines leave little room for heavy buildup. A spray gun for car painting is often paired with a dedicated booth or well ventilated space, along with a slower, more deliberate pass speed to keep the finish level.
Primer Paint Spray Gun for Base Coats
Primer tends to be thicker than a finish coat, so a primer paint spray gun setup often uses a slightly larger fluid tip and a bit more fluid flow to lay down enough material for sanding and leveling before the top coat goes on.
Paint Spray Gun for Home Use and Interior Walls
For furniture, trim, cabinets, and interior walls, a paint spray gun for home use focused on wide fan patterns and simple cleanup tends to be practical, since these projects usually involve larger flat areas and fewer tight contours than automotive work.
Best DIY Paint Spray Gun for Beginners
People new to spraying often find that a best diy paint spray gun choice is one with straightforward controls, a manageable cup size, and forgiving air pressure settings, which makes it easier to build confidence before moving on to more detailed projects.
Cleaning and Maintaining a Manual Spray Paint Gun
- Empty any remaining paint from the cup back into its original container
- Add the appropriate cleaning solution and spray it through the gun into a waste container
- Disassemble the air cap, fluid nozzle, and needle according to the gun manual
- Wipe or brush each part clean, paying attention to the small passages in the air cap
- Check seals and gaskets for wear before reassembling the gun
- Store the gun in a dry place, ideally with a light coat of appropriate lubricant on moving parts
About Ningbo Lis Industrial
Ningbo Lis Industrial Co., Ltd. has been engaged in the research, development, manufacturing, and marketing of air spray gun series, mini air compressors, and related air tools since 1984. The company is based in Ningbo, a port city with a long trading history that provides convenient access to transportation and manufacturing resources. Over the years, the team at Lis Industrial has grown into a sizeable operation with several hundred staff members, working across a large production facility dedicated to spray gun and air tool manufacturing.
Lis Industrial focuses on providing a complete paint spray gun system lineup, covering options suited to home projects, automotive refinishing, and industrial coating lines, with an ongoing emphasis on consistent build quality and product development for customers across different regions.

Frequently Asked Questions About Spray Gun Painting
Q1: How do you use a spray gun to paint a surface evenly
Hold the gun six to eight inches from the surface, keep it moving at a steady speed, and overlap each pass by about half the fan width to avoid bare or heavy spots.
Q2: How do you use a paint sprayer with an air compressor
Connect the air hose to the gun inlet, set the compressor within the pressure range listed for the gun, fill the cup with strained paint, then test the pattern on scrap material first.
Q3: How do you adjust a paint spray gun fan pattern
Turn the air cap ring to switch between a round pattern for edges and a wide fan pattern for flat areas, then fine tune the fluid knob until the pattern looks even.
Q4: How do you use a paint gun for the first time
Start with a clean gun, properly thinned coating, and a scrap panel to practice on, working through distance, speed, and overlap before moving to the real surface.
Q5: How do you spray paint smoothly with a spray gun
A smooth finish depends on correct paint viscosity, steady gun speed, consistent distance from the surface, and enough overlap between passes so each layer blends into the last.
Q6: How do you adjust paint gun pressure correctly
Begin near the lower end of the listed range, spray a test pattern on scrap material, then raise the paint gun pressure gradually until the pattern atomizes cleanly.
Q7: How do you use an HVLP paint sprayer
Fill the cup with properly thinned paint, set the recommended spray gun pressure, hold the gun close to perpendicular to the surface, and move it in steady, overlapping passes.
Q8: How do you set up an HVLP spray gun before painting
Attach the gun to a compatible air compressor, install any needed filter or regulator, strain the paint into the cup, and check the trigger and needle move freely.
Q9: What is a good paint sprayer for beginners
Many people starting out choose an HVLP spray gun because its lower spray gun pressure and reduced overspray make the fan pattern and trigger control easier to manage while learning.
Q10: How do you paint a room with a spray gun
Mask off trim, outlets, and flooring, work in manageable sections with overlapping vertical or horizontal passes, and keep a consistent distance from the wall.