Search
 English
 中文简体
中文简体 Deutsch
 Español
Content
- 1 Understanding the Heavy Duty Spray Gun: Types and Design Principles
- 2 Setting Up the Heavy Duty Spray Gun: Nozzle, Needle, and Air Cap Selection
- 3 Material Preparation: Viscosity and Thinning for Optimal Atomization
- 4 Heavy Duty Spray Gun Painting Techniques: The Core Parameters
- 5 Air Pressure Adjustment: Dialing In Atomization Quality
- 6 Diagnosing and Correcting Common Spray Pattern Defects
- 7 Heavy Duty Spray Gun Cleaning and Maintenance Methods
- 8 Safety Requirements When Operating a Heavy Duty Spray Gun
- 9 Frequently Asked Questions
To get professional results from a heavy duty spray gun, set air pressure to the material manufacturer's recommended range (typically 2.0–4.0 bar / 29–58 psi for HVLP), maintain a consistent 15–25 cm gun-to-surface distance, move at a steady 30–60 cm/s, and overlap each pass by 50%. These four parameters — pressure, distance, speed, and overlap — determine coating quality more than any other factor. Get them right consistently, and a heavy duty spray gun will deliver uniform, professional-grade results on automotive panels, structural steel, industrial machinery, and large commercial surfaces alike.
This article provides a complete, practical guide to heavy duty spray gun painting techniques, setup and calibration, material viscosity preparation, troubleshooting common defects, and heavy duty spray gun cleaning and maintenance methods — everything needed to operate this tool at its full potential.
Understanding the Heavy Duty Spray Gun: Types and Design Principles
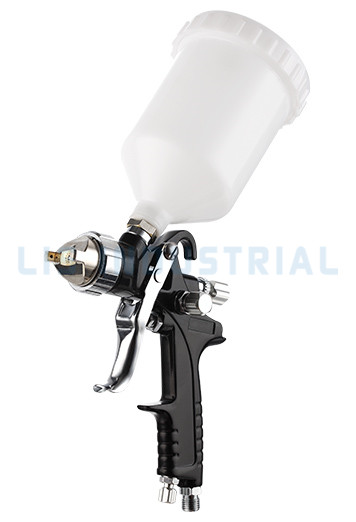
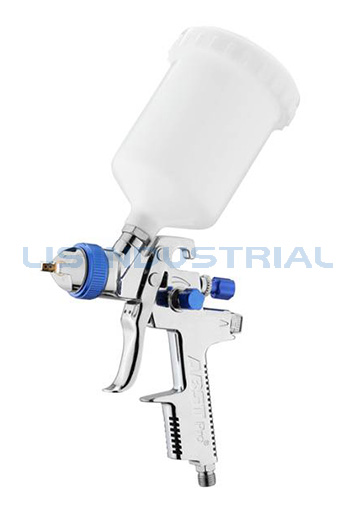
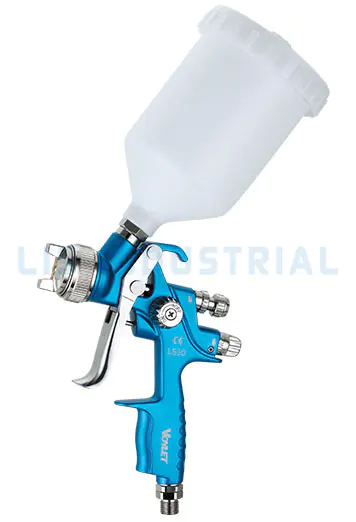
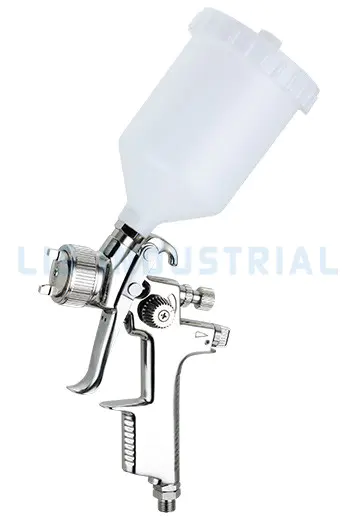
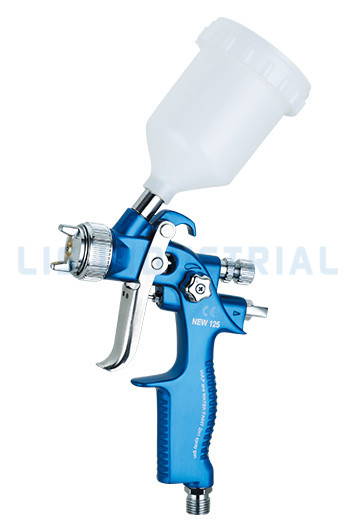
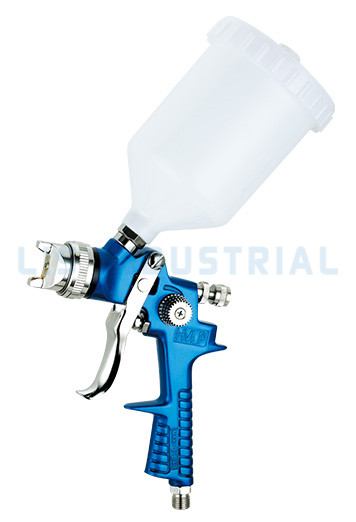
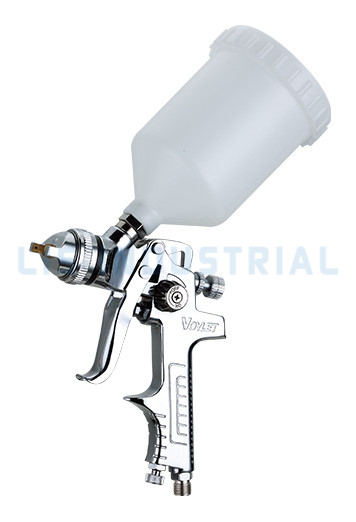
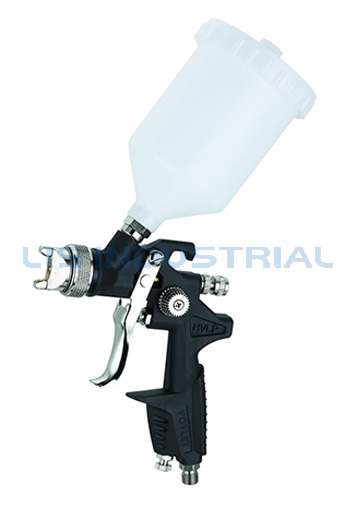
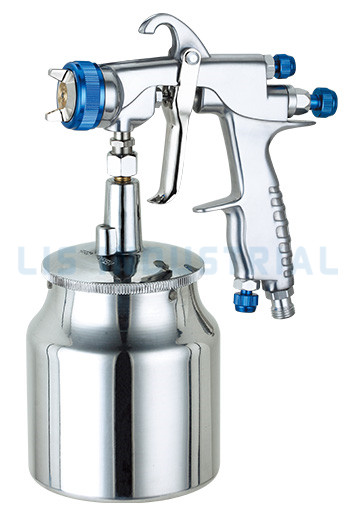
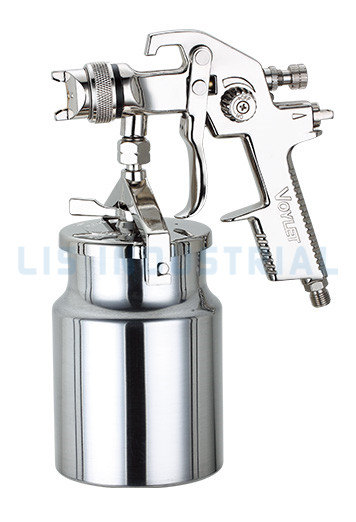
A heavy duty spray gun is engineered to handle high-viscosity coatings, large surface areas, and extended continuous operation that would overwhelm standard spray guns. The fundamental operating principle — compressed air atomizing liquid coating material through a precision nozzle — is shared across types, but the design specifications differ significantly.
Main Types of Heavy Duty Spray Guns
| Type | Operating Pressure | Transfer Efficiency | Best Application |
| HVLP (High Volume Low Pressure) | 0.7 – 1.0 bar at cap | 65 – 85% | Automotive, finish coats, regulated environments |
| LVLP (Low Volume Low Pressure) | 1.0 – 2.0 bar at cap | 65 – 75% | Small compressors, detail work |
| Conventional / Air Spray | 2.0 – 4.5 bar at cap | 25 – 40% | Industrial primers, fast production, texture coats |
| Pressure-Feed (Remote Cup) | 1.5 – 4.0 bar | 60 – 80% | Large volume, structural steel, continuous production |
For heavy industrial work — large steel structures, machinery, vehicles, and warehouse floors — conventional air spray and pressure-feed configurations are the most common because they handle high-viscosity materials and large fluid volumes without the fine atomization constraints of HVLP. Transfer efficiency is lower, but output rate and material compatibility are far superior for thick coatings.
Setting Up the Heavy Duty Spray Gun: Nozzle, Needle, and Air Cap Selection
Correct component selection before spraying is as important as technique during application. The nozzle size, needle diameter, and air cap pattern are matched to the coating material's viscosity and the required fan width. Using the wrong combination is the most common source of poor atomization, runs, and uneven coverage.
Nozzle Size Selection by Material
- 1.0 – 1.2 mm: Thin lacquers, stains, dyes, waterborne basecoats — materials with viscosity below 16 seconds (DIN 4 cup at 20°C).
- 1.3 – 1.5 mm: Clearcoats, single-stage urethanes, medium-viscosity primers — the most common range for heavy duty spray gun painting techniques in automotive and general industrial work.
- 1.6 – 2.0 mm: High-build primers, epoxy coatings, zinc-rich primers, thick enamels — materials with viscosity of 20–35 seconds (DIN 4 cup).
- 2.0 – 3.0 mm: Texture coatings, rubberized undercoats, heavy anti-corrosion mastics — materials with viscosity exceeding 40 seconds (DIN 4 cup).
A practical test: if atomized droplets appear large and grainy in the spray pattern, the nozzle is too large or pressure too low. If the fan is narrow and dry-looking with excessive mist, the nozzle is too small or pressure too high for the material.
Material Preparation: Viscosity and Thinning for Optimal Atomization
No heavy duty spray gun painting technique compensates for incorrectly prepared material. Paint that is too thick clogs the nozzle and produces orange peel; paint that is too thin runs and sags. Viscosity must be measured and adjusted — not estimated — before every application session.
Use a flow cup (DIN 4 or Ford 4) to measure efflux time in seconds. Target ranges for spray application:
- Basecoats and lacquers: 12–16 seconds (DIN 4)
- Clearcoats and urethanes: 16–22 seconds (DIN 4)
- High-build primers and epoxy coatings: 20–30 seconds (DIN 4)
- Zinc-rich primers and mastics: 25–40 seconds (DIN 4)
Add reducer or thinner in small increments (typically 5–10% by volume per adjustment), mix thoroughly, and re-measure. Temperature significantly affects viscosity — at 30°C, many coatings are 15–25% less viscous than at 20°C. Always measure at application temperature, not storage temperature.
Heavy Duty Spray Gun Painting Techniques: The Core Parameters
Consistent coating quality depends on mastering four interrelated technique parameters simultaneously. Changing any one of them requires compensating adjustments to the others to maintain the same wet film thickness and coverage uniformity.
Figure 1: Relative impact of the four core technique parameters on coating uniformity defects (orange peel, sags, dry spray, missed coverage).
Gun-to-Surface Distance
The correct distance for most heavy duty spray gun applications is 15–25 cm (6–10 inches) from nozzle tip to surface. At closer distances, wet film builds faster, increasing sag and run risk. At greater distances, solvent flashes off before the droplets reach the surface, producing a dry, rough texture (dry spray) and reducing adhesion. As a practical check: hold the gun at the intended distance and verify the full fan width falls cleanly on the surface without overlap onto adjacent areas.
Gun Movement Speed
Move the gun at a consistent 30–60 cm/s (12–24 in/s) across the surface. Slowing down concentrates coating and causes runs; speeding up produces thin, under-built passes requiring additional coats. Consistency matters more than absolute speed — use your shoulder, not your wrist, as the movement pivot to maintain a perpendicular gun angle throughout each stroke. Wrist pivoting arcs the spray pattern, producing heavy edges and a thin center.
Pass Overlap
Overlap each pass by 50% of the fan width. This ensures that every part of the surface receives two layers of spray from each application pass — the leading half of one fan and the trailing half of the next — delivering uniform wet film thickness. With a 25 cm fan width, each pass should advance the gun by 12–13 cm. Using less overlap creates striping (visible bands of light and heavy coverage); more than 50% overlap wastes material and over-builds film thickness.
Triggering Technique: Start and Stop Beyond the Edge
Always trigger the gun (begin spraying) 5–8 cm before reaching the surface edge, and release the trigger the same distance beyond the opposite edge. This prevents material buildup at the start and end of each stroke from the momentary low velocity as the arm decelerates. On vertical surfaces, spray horizontal bands starting from the top and working downward — this allows the leading edge of each pass to catch any drips from the pass above before they set.
Air Pressure Adjustment: Dialing In Atomization Quality
Air pressure is adjusted at the regulator on the compressor or at the in-line regulator fitted to the gun handle. The correct approach is to start at the lower end of the material manufacturer's recommended range and increase pressure in 0.2 bar (3 psi) increments, testing on a spray-out card or scrap panel at each step until the atomization pattern is fine and even across the full fan width.
Figure 2: Effect of inlet air pressure on atomization quality rating (1 = poor / heavy droplets, 10 = ideal fine mist) for a typical heavy duty spray gun with a 1.4 mm nozzle and medium-viscosity coating.
The ideal operating window for most heavy duty spray gun applications is 2.5–3.5 bar (36–51 psi) inlet pressure for conventional and pressure-feed guns. Below this range, atomization is coarse and the pattern may spit; above it, excessive overspray and dry spray increase paint waste and produce a rough surface texture. Always measure pressure at the gun inlet, not at the compressor gauge — pressure drop along the air hose can be significant, especially with hose lengths above 5 meters.
Diagnosing and Correcting Common Spray Pattern Defects
Spraying a test pattern on a card before beginning work is a standard practice that takes less than 60 seconds and prevents wasted material on the actual surface. The shape and distribution of the test pattern reveals specific equipment or setup problems:
| Type | Operating Pressure | Transfer Efficiency | Best Application |
| HVLP (High Volume Low Pressure) | 0.7 – 1.0 bar at cap | 65 – 85% | Automotive, finish coats, regulated environments |
| LVLP (Low Volume Low Pressure) | 1.0 – 2.0 bar at cap | 65 – 75% | Small compressors, detail work |
| Conventional / Air Spray | 2.0 – 4.5 bar at cap | 25 – 40% | Industrial primers, fast production, texture coats |
| Pressure-Feed (Remote Cup) | 1.5 – 4.0 bar | 60 – 80% | Large volume, structural steel, continuous production |
Heavy Duty Spray Gun Cleaning and Maintenance Methods
Thorough cleaning after every use is non-negotiable for a heavy duty spray gun. Coating material that dries inside the fluid passages, needle packing, or nozzle seat will degrade the gun's precision within a few uses. The heavy duty spray gun cleaning and maintenance methods below apply to solvent-borne and waterborne coatings, with minor variations in solvent type.
Step-by-Step Cleaning Procedure
- Empty the cup and flush immediately. Remove remaining material from the cup while still liquid. Fill the cup one-third with appropriate cleaning solvent and spray it through the gun until the fluid running from the nozzle is clear. For waterborne coatings, use warm water first, then a dedicated waterborne gun cleaner.
- Disassemble the air cap and nozzle. Remove the air cap by hand (counterclockwise), then unscrew the nozzle with the correct tool. Never use pliers on precision components — flat-blade nozzle wrenches or socket tools sized for the nozzle hex are correct.
- Soak components in solvent. Place the air cap, nozzle, and fluid needle in a cleaning jar with fresh solvent for 10–20 minutes. Soft dried material will release without aggressive scrubbing that damages sealing surfaces.
- Clean the fluid passage in the gun body. Use a cleaning brush set (nylon bristle pipe cleaners) to clean the fluid inlet, trigger passage, and needle packing area. Run clean solvent through the body with a cleaning station or by hand-pumping solvent through the fluid connection port.
- Clear horn holes in the air cap with a toothpick or soft bristle. Never use wire, drill bits, or metal picks — these enlarge the precision-drilled holes and permanently alter the spray pattern. If a horn hole is blocked and will not clear with a soft pick and solvent, replace the air cap.
- Dry, inspect, and reassemble. Blow out all components with filtered compressed air, inspect nozzle and needle tip for wear or impact damage, and reassemble hand-tight plus one-quarter turn for the nozzle. Over-torqueing the nozzle cracks the nozzle seat — a common and avoidable damage mode.
Periodic Maintenance Tasks
- Needle packing lubrication (weekly or every 8 hours of use): Apply one drop of petroleum-based machine oil or the gun manufacturer's specified packing oil to the needle packing at the rear of the gun body. Dry packing causes the needle to drag, affecting trigger feel and atomization consistency.
- Air inlet filter inspection (monthly): Check the in-line moisture separator and filter at the gun inlet. A clogged filter reduces air flow and drops effective gun pressure; a failed moisture separator allows water droplets into the air stream, causing fisheyes and adhesion failures in the coating.
- Nozzle and needle wear inspection (every 3–6 months): Inspect the nozzle orifice for out-of-round wear (visible as elongated spray pattern) and the needle tip for mushrooming or scoring. Replace both nozzle and needle as a matched set — replacing only one component leaves a worn mating surface that defeats the precision of the new part.
- Cup seal and gasket inspection (every 3 months): Check the cup lid seal for cracking or compression set. A leaking cup seal causes air ingestion into the fluid path, producing spitting and uneven fluid delivery.
Safety Requirements When Operating a Heavy Duty Spray Gun
Heavy duty spray gun operation involves flammable solvents, fine airborne particulate, and high-pressure air — all of which require consistent safety practice. The following requirements apply to every spraying session without exception:
- Respiratory protection: Use a half-face respirator with organic vapor cartridges (OV/P100) for solvent-based coatings. Disposable dust masks do not provide protection against solvent vapors. For isocyanate-containing coatings (two-component urethanes), supplied-air respirators are required in enclosed spaces.
- Eye protection: Full-seal chemical splash goggles or a face shield over safety glasses. Spray mist disperses beyond the immediate target area and carries solvent that causes serious eye injury.
- Ventilation: Maintain a minimum air change rate of 10–20 air changes per hour in spray booths and enclosed work areas. Solvent vapor concentrations above 10–25% of the lower explosive limit (LEL) create fire and explosion risk.
- Grounding: Electrically ground metal spray equipment and containers when spraying solvent-based materials to prevent static discharge ignition of solvent vapors.
- Never point the gun at people or animals and never put fingers in front of the nozzle to test spray — compressed air injection injuries are serious medical emergencies.