 Search

 English
 中文简体
 Deutsch
 Español
Content
- 1 The Short Answer: A Gravity Feed HVLP Spray Gun With a 1.3 to 1.4 mm Tip
- 2 What Makes a Spray Gun Beginner Friendly
- 3 Spray Gun Types Compared for First Time Users
- 4 Gravity, Siphon and Pressure Feed Explained
- 5 Spray Gun Fluid Tip Size Guide for Beginners
- 6 Spray Gun Air Pressure Settings That Help You Learn
- 7 Inside a Beginner Spray Gun: Parts and Controls
- 8 Gravity Feed and Siphon Feed Compared on Five Points
- 9 Setting Up and Spraying Your First Project
- 10 Spray Gun Paint Flow Adjustment and Pattern Control
- 11 Fixing Common Beginner Problems
- 12 Cleaning and Care Routine
- 13 Good Practice Projects for a First Spray Gun
- 14 Lis Spray Gun Range for First Time Buyers
- 15 Quick Buying Checklist for a Beginner Spray Gun
- 16 Spray Gun FAQ
- 16.1 Q1. What is the difference between HVLP and LVLP spray guns?
- 16.2 Q2. What is the difference between an air spray gun and an airless spray gun?
- 16.3 Q3. What is an automatic spray gun used for?
- 16.4 Q4. Why is my spray gun spitting instead of spraying evenly?
- 16.5 Q5. Why is my spray gun not spraying paint?
- 16.6 Q6. How often should a spray gun be cleaned?
- 16.7 Q7. What causes an uneven spray pattern?
- 16.8 Q8. What tip size should a beginner start with?
- 16.9 Q9. What air pressure should I use with a new spray gun?
- 16.10 Q10. Can one spray gun handle both paint and stain?
- 16.11 Q11. Why is paint leaking from the front of my spray gun?
- 16.12 Q12. Does a spray gun need a large compressor?
The Short Answer: A Gravity Feed HVLP Spray Gun With a 1.3 to 1.4 mm Tip
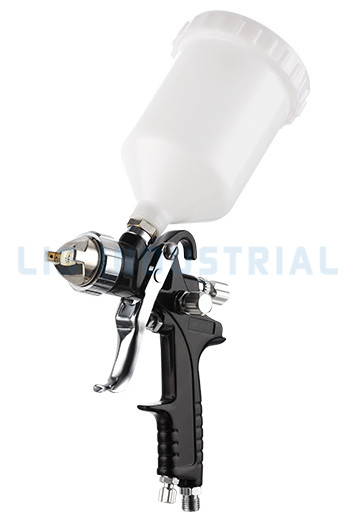
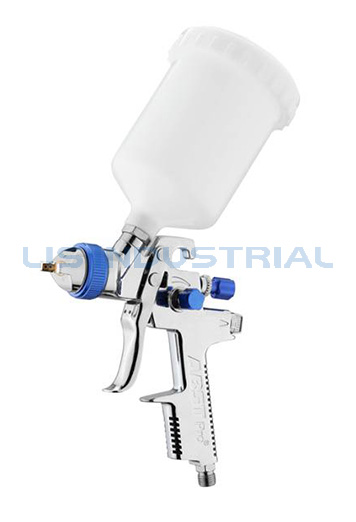
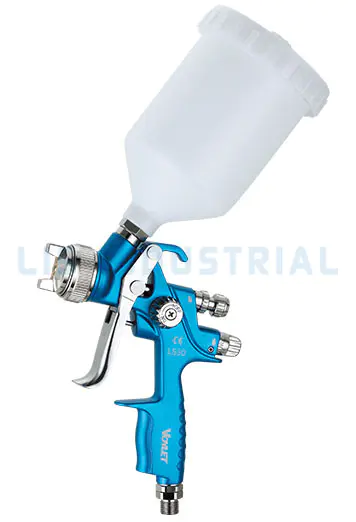
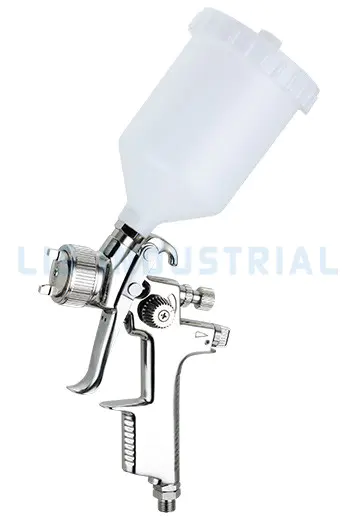
For most first-time users, the most practical choice is a gravity feed HVLP or LVLP spray gun with a 1.3 to 1.4 mm fluid tip, a 600 ml cup, and separate controls for fluid, fan pattern and air. This setup works with common coatings such as primer, base coat, clear coat, stain, lacquer and water based paint, it needs less air than older conventional guns, and it gives a beginner enough control to see what each adjustment does.
A Spray Gun is a simple tool, but small differences in feed style, tip size and body design change how forgiving it feels during the first few projects. A beginner benefits from a gun that atomizes paint at modest pressure, leaves less overspray in the air, and comes apart quickly for cleaning. Those three traits are the core of the recommendation above.
- Feed style: gravity feed, with the cup mounted on top of the body.
- Atomization type: HVLP or LVLP, which lowers overspray compared with conventional designs.
- Starting tip size: 1.3 to 1.4 mm for general coatings, with a 1.0 mm set for small detail work and a 1.8 to 2.0 mm set for primer.
- Controls: a fluid knob, a fan pattern knob and an air adjustment at the gun or at the inlet.
- Cleaning: a wide cup opening, smooth fluid passages and a nozzle that can be removed without special tools.
The sections below explain why each point matters, show how to set up the gun, and cover the problems that appear most often in the first month, including uneven fan patterns, nozzle leaks and weak paint flow.
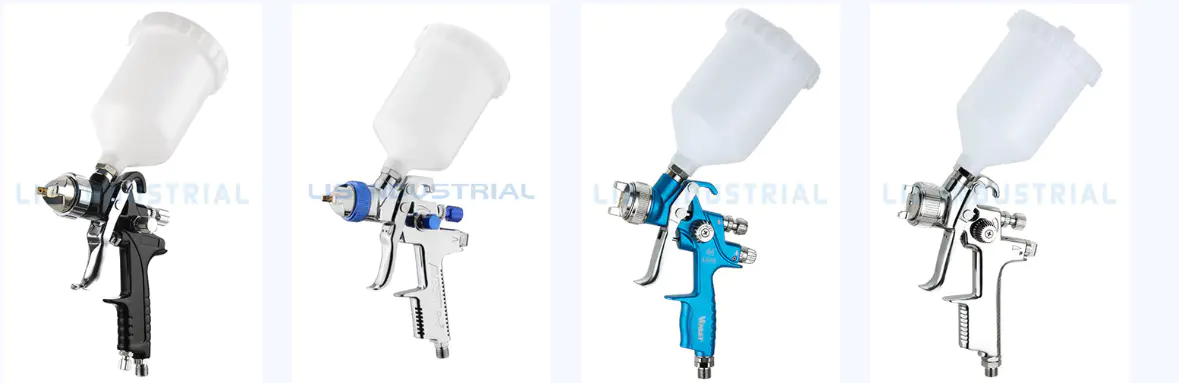
What Makes a Spray Gun Beginner Friendly
A beginner friendly Spray Gun is one that lets you change one variable at a time and see the result right away. When the fluid control, fan control and air pressure each have a clear job, mistakes are easier to trace. Six traits matter most when you compare models.
Gravity feed cup
Paint flows down into the nozzle without needing suction, so thin and medium coatings reach the tip with less effort. A top mounted cup also lets you spray until the cup is nearly empty.
Moderate air demand
A gun that works with a modest compressor is easier to live with in a home garage. LVLP designs were created for exactly this situation.
Adjustable fan pattern
A fan knob turns a round pattern into a wide oval. Narrow patterns suit small parts, while wide patterns suit panels, doors and tabletops.
Fluid control knob
This knob limits how far the needle opens. Starting with a lower fluid setting is a safe way to avoid runs while you build trigger control.
Corrosion resistant parts
Stainless steel needles and nozzles resist wear and make cleaning easier, especially after water based coatings.
Simple disassembly
If the cap, nozzle and needle come apart with a basic wrench, you are more likely to clean the gun after each session.
Weight and grip also count. A balanced body reduces wrist fatigue during longer passes, and a smooth trigger pull helps you start and stop the paint flow at the edge of the workpiece rather than in the middle of it.
Spray Gun Types Compared for First Time Users
Product names can be confusing because they combine two ideas: how paint reaches the nozzle and how air breaks the paint into droplets. The table below separates them in plain terms so you can narrow the field quickly.
| Type | How it works | Strength for beginners | Watch point |
| HVLP gravity | High air volume at low cap pressure | Soft spray, less overspray | Needs a compressor with enough airflow |
| LVLP gravity | Lower air volume at low pressure | Works with smaller compressors | Pattern can be narrower at the same tip size |
| Conventional siphon | Higher pressure pulls paint up from a cup below | Handles thicker paint and larger cups | More overspray and more paint waste |
| Pressure feed | Paint is pushed from a separate pot | Steady flow for long runs | More hoses and more setup time |
| Airless | A pump forces paint through a small tip without air | Fast coverage on walls and fences | Less suited to fine furniture finishing |
BodyShop Business notes that gravity feed guns have been around since at least the 1940s and became the standard in many professional shops, and that a conventional gravity gun delivering about 40 percent transfer efficiency would reach roughly 60 percent with HVLP technology. Transfer efficiency is the share of paint that lands on the part instead of in the air, so a higher figure means less waste and less cleanup around your workspace.
Why air demand deserves a look before you buy
Air demand is measured in cubic feet per minute, or cfm. If the gun asks for more air than your compressor can deliver, pressure drops during a pass and the pattern turns coarse. Published retailer specifications show a wide spread: LVLP guns are often listed at about 7 to 9 cfm at 15 to 28 psi, while many full size HVLP guns are listed at about 12 to 16 cfm at 23 to 30 psi. The chart below uses midpoints from those listings and should be read as an approximate guide, since each model has its own data plate.
Gravity, Siphon and Pressure Feed Explained
Feed style decides how paint travels from the container to the nozzle. For learning, this choice affects cleaning time, paint use and how well the gun handles different coatings.
Gravity feed
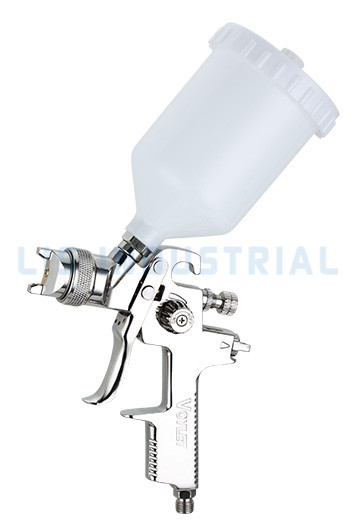
The cup sits on top and paint drops into the nozzle. It needs less air to move paint, leaves very little paint behind in the cup, and suits thin to medium coatings. This is the usual starting point.
Siphon feed
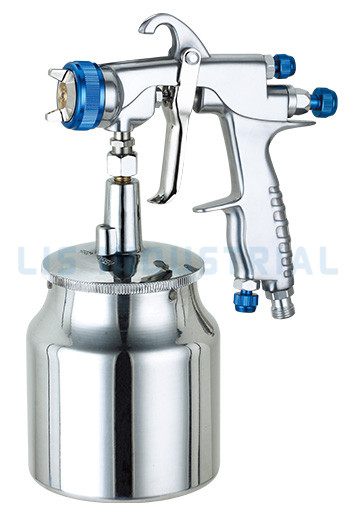
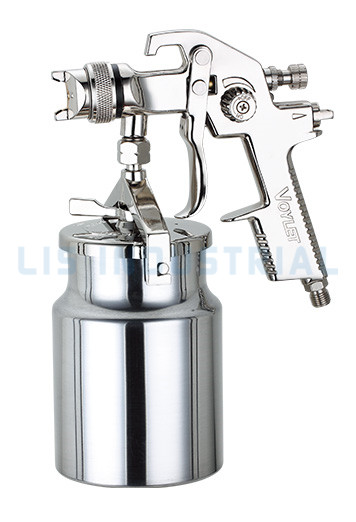
The cup hangs below the gun and air flow lifts the paint. It copes with heavier materials and bigger cups, but the gun tends to feel nose heavy when the cup is full and it uses more air.
Pressure feed
A separate pot pushes paint through a hose. This is useful for long production runs or large surfaces, but the extra hoses and cleaning steps are more than most new users need.
A common beginner mistake is to buy a large siphon gun for small projects because the cup looks generous. In practice, a smaller gravity cup is easier to balance and easier to rinse, and a 600 ml cup covers most furniture pieces, cabinet doors and automotive panels without a refill.
Spray Gun Fluid Tip Size Guide for Beginners
The fluid tip, which includes the nozzle and matching needle, controls how much paint can pass through the gun. A tip that is too small starves thick paint, and a tip that is too large floods thin paint. This spray gun fluid tip size guide gives starting points that many suppliers list for common jobs. Treat them as a first trial rather than a fixed rule, and check the paint maker data sheet for the recommended range.
Supplier listings from UK tool retailers describe a 1.3 mm set up as a standard choice for top coats and for base and clear coats, a 1.0 mm set up for touch up work where fine control is needed, and a 2.0 mm set up for primer and other high viscosity material. Smaller 0.8 mm sets are also listed for water based touch up work.
| Material | Typical tip size | Reason |
| Thin stain or sealer | 1.0 to 1.2 mm | Low viscosity needs a smaller opening |
| Lacquer and clear coat | 1.2 to 1.4 mm | Balances flow and fine atomization |
| Base coat and water based paint | 1.3 to 1.4 mm | Even coverage with moderate flow |
| Enamel and primer surfacer | 1.5 to 1.8 mm | Thicker material needs more opening |
| High build primer | 1.8 to 2.0 mm | High solids pass through larger tips |
Matching the needle, nozzle and air cap
The needle and nozzle should be the same size, and the air cap should be the one made for that set. Mixing parts from different sets is a frequent cause of spitting and a distorted fan. If you plan to spray more than one type of coating, a gun with an interchangeable tip kit gives you room to grow without buying a second body.
Spray Gun Air Pressure Settings That Help You Learn
Spray gun air pressure settings are the second major variable after tip size. Too little pressure leaves large droplets and an orange peel texture. Too much pressure breaks the paint into very fine particles that bounce off the surface and drift into the air as overspray. The goal is the lowest pressure that still produces a smooth, fine mist with the paint you are using.
Retailer specifications for gravity HVLP guns commonly list inlet pressures of about 23 to 30 psi, and LVLP guns are often listed from 15 to 28 psi. The numbers refer to pressure at the gun inlet while the trigger is fully pulled, which is why a gauge at the gun gives a more useful reading than the regulator on the compressor.
A simple way to set pressure
- Thin the paint to the range given on its data sheet and strain it into the cup.
- Set the compressor regulator a few psi above the gun target to allow for hose loss.
- Pull the trigger fully on a test card and read the gauge at the gun inlet.
- Adjust until the gauge matches the value on the gun data plate.
- Spray a test card and look for fine, even droplets. Lower the pressure in small steps if the mist looks dusty or bounces.
If you only have a regulator on the compressor, begin at the lower end of the range printed on the gun, test on cardboard, and raise the setting by 2 to 3 psi at a time. Write down the final number for each coating so you can return to it on the next project.
Inside a Beginner Spray Gun: Parts and Controls
Knowing the parts makes every later adjustment easier to understand. The diagram below shows a typical gravity feed gun in an isometric view with the main controls labeled. Most models follow this layout, although knob positions vary between designs.
What each control does
- Fluid control knob: limits needle travel and sets the maximum amount of paint released when you pull the trigger.
- Fan control knob: changes the shape of the spray from a narrow round pattern to a wide oval.
- Air inlet or air adjustment: connects the hose and, on some guns, lets you trim pressure at the handle.
- Air cap and nozzle: shape the air around the paint stream and form the fan. Horn holes in the cap push the round stream into an oval.
- Trigger: works in two stages on most guns. The first pull releases air, and the second pull moves the needle to release paint.
Gravity Feed and Siphon Feed Compared on Five Points
The radar chart gives a quick visual comparison of a typical gravity feed HVLP gun and a typical siphon feed gun for a person who is learning. The scores are a simple one to five rating based on common workshop experience, so they show direction rather than laboratory results.
The gravity feed gun scores higher for control, paint economy and finish quality because the paint reaches the nozzle at a steady rate and the lower cap pressure keeps the mist soft. The siphon gun takes a little less effort to set up for very thick material, but it uses more air and wastes more paint, which makes early mistakes more costly.
Setting Up and Spraying Your First Project
A calm, repeatable routine matters more than speed when you are new. Work through the steps below on a piece of scrap material before you spray the real workpiece.
Prepare the surface
Sand, clean and dry the part, and wipe it with a lint free cloth. Dust and oil show up as craters and fish eyes once paint goes on.
Mix and strain the coating
Follow the ratio on the label, stir slowly to avoid bubbles, and pour through a paper strainer into the cup. Straining stops small lumps from blocking the nozzle.
Set the gun controls
Open the fan knob fully, set the fluid knob about halfway, and set inlet pressure to the number on the data plate. You can refine each of these after the first test pass.
Test on cardboard
Hold the gun about 6 to 8 inches from the card, pull the trigger for one second, and check the shape. A clean oval with even density from top to bottom is the target.
Spray with steady passes
Keep the gun level and parallel to the surface, start moving before you pull the trigger, and release the trigger after the pass ends. Overlap each pass by about half the pattern width.
Clean the gun right away
Empty the cup, spray a little cleaner through the gun, and wipe the cap and nozzle. Paint that dries inside narrow passages is the main source of later spray problems.
Spray Gun Paint Flow Adjustment and Pattern Control
Spray gun paint flow adjustment is a balance between three things: how far the fluid knob opens the needle, how fast your hand moves, and how thick the paint is. Change them one at a time. If you change two at once, you will not know which change fixed the problem.
6 to 8 inches
Common working distance between the air cap and the surface for HVLP guns.
50 percent
Typical overlap between neighboring passes to avoid stripes.
2 stage
Trigger action: air first, then paint, so you can start in the air.
Reading the pattern
A healthy pattern looks like an even oval with soft edges and uniform paint density. If the center is heavy and the ends are thin, the paint flow is too high for the air or the fan is too narrow. If the ends are heavy and the center is thin, the air pressure may be too high or the paint too thin. Turning the fluid knob down a quarter turn, or turning the fan knob wider, usually restores balance.
Trigger and speed habits
Slow movement deposits more paint and produces runs. Fast movement leaves a dry, textured film. A steady arm speed of roughly one foot per second is a useful starting point for many coatings, and you can adjust from there after a test pass. Keep your wrist straight so the gun stays at a constant distance. Arcing motions change the distance and cause light and heavy bands.
Fixing Common Beginner Problems
Most spray problems have simple causes. The table gives a first check for the symptoms that appear most often, and the notes below expand on the three that new users ask about the most.
| Symptom | Likely cause | First adjustment |
| Spitting | Loose nozzle, dry needle packing or low paint level | Tighten the nozzle and refill the cup |
| Uneven fan pattern | Dried paint in horn holes or a dirty air cap | Soak and clean the cap with a soft brush |
| Leaking from the nozzle | Worn needle seat or debris on the needle tip | Clean the needle and nozzle seat, then recheck |
| No paint flow | Clogged tip or fluid knob closed | Open the knob and clear the nozzle |
| Orange peel texture | Pressure too low or paint too thick | Raise pressure slightly or thin the paint |
| Runs and sags | Too much paint or slow hand speed | Lower the fluid setting and move faster |
Spray gun uneven fan pattern
A spray gun uneven fan pattern, such as a pattern that looks heavy on one side or split in the middle, usually points to dried paint in the air cap or a partly blocked fluid tip. Remove the cap, soak it in cleaner, and clear the horn holes with a soft brush or a wooden pick. Metal tools can scratch the holes and permanently distort the shape.
Spray gun leaking from nozzle
If a spray gun is leaking from the nozzle when the trigger is released, check for hardened paint on the needle tip and seat. A needle that does not close fully lets paint seep out. Clean both parts, check that the needle spring is seated, and replace the needle and nozzle as a matched set if wear is visible.
Spitting instead of spraying evenly
Spitting happens when air enters the fluid path or when paint flow is interrupted. Tighten the nozzle, make sure the cup lid vent is clear, and confirm the cup is not tilted so far that air reaches the pickup. Thick paint that is not strained can also cause intermittent bursts.
Cleaning and Care Routine
A spray gun that is cleaned after every session works the same way next week as it does today. A gun that is left with dried paint inside may need new parts within a few uses. The routine takes about ten minutes once you know the steps.
After every session
- Pour out leftover paint and wipe the cup.
- Spray the correct cleaner through the gun until it runs clear.
- Remove the air cap and nozzle and wipe them with a soft brush.
- Wipe the body with a damp cloth. Do not soak the whole gun.
Once a month
- Apply a drop of gun lube to the needle packing and trigger pivot.
- Check the air cap holes for blockage using good light.
- Inspect the needle tip for bends or scratches.
- Test the trigger travel and fluid knob for smooth movement.
Water based coatings need a water rinse followed by a final pass of gun cleaner, since moisture left in steel parts can leave marks. Solvent based coatings need the matching solvent and good ventilation. Store the gun with the cup removed and the nozzle covered so dust cannot settle in the passages.
Good Practice Projects for a First Spray Gun
Starting with a small, forgiving project builds confidence and shows you how the gun behaves with real coatings. These projects suit a gravity feed gun and a 1.3 to 1.4 mm tip.
Flat boards are the easiest surface for learning pattern overlap and distance. After a few boards, move to pieces with edges and corners, where the gun angle needs more thought. Tilting the gun slightly at an edge keeps paint from piling up on the corner.
Lis Spray Gun Range for First Time Buyers
Ningbo Lis Industrial Co., Ltd is a Spray Gun factory based in Ningbo, China. The company supplies home and industrial spray gun products, works with a research and development team, and sells to customers across Europe, North America, the Middle East, South Africa and East Asia. The product range includes painted spray guns, air blow guns, airless spray guns and high pressure spray pumps. A selection of categories that suit people learning to spray is shown below, and the full range is available on the product page.
Gravity Feed Spray Guns
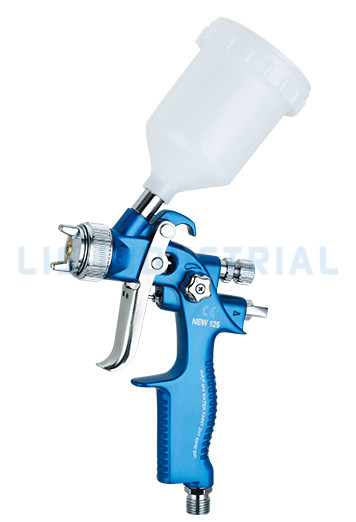
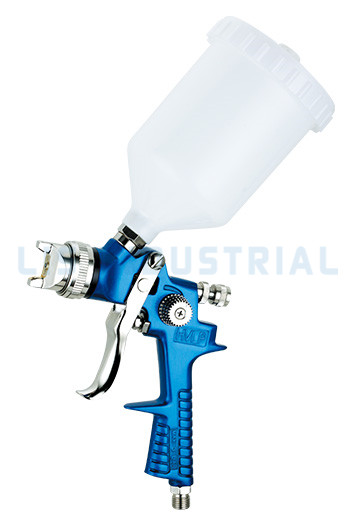
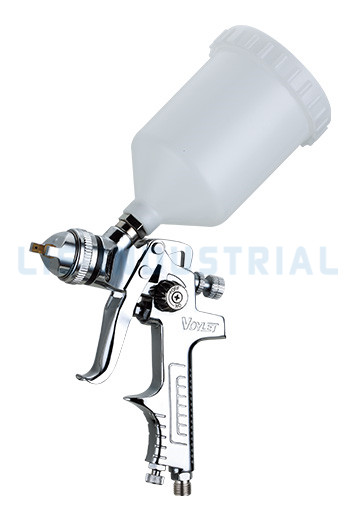
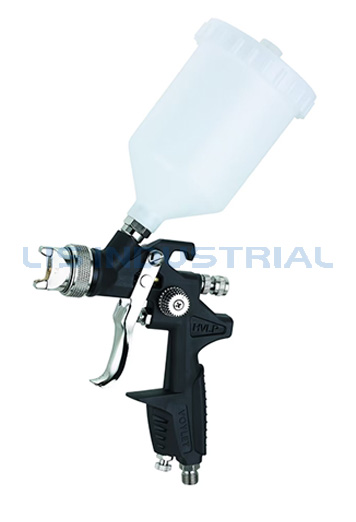
Top mounted cup design for furniture, panels and general coating work. A practical match for the setup described in this article.
View Spray GunsMini Touch Up Spray Guns
Compact bodies and smaller tips for detail work, small parts and repairs where fine control is needed.
View Spray GunsAir Blow Guns
Useful for clearing dust from parts before painting and for drying cleaned components in the workshop.
View ProductsAirless Spray Equipment
Spray guns and high pressure pumps for walls, fences and larger surfaces where fast coverage is the priority.
View ProductsWorking with a Spray Gun OEM manufacturer
Businesses that sell spray tools under their own name often work with a Spray Gun OEM manufacturer to adapt an existing design or build one from drawings. Lis supports OEM work from customer drawings or samples and provides ODM services based on customer needs. Typical points to settle early include body size, cup capacity, tip set options, knob layout, finish color, packaging and the labeling you want on the product.
When you contact a factory, prepare a short brief: the coatings the gun will handle, the target user, the air supply you expect, and the tip sizes you want in the kit. A clear brief shortens sampling and helps the engineering team propose parts that fit the use.
Quick Buying Checklist for a Beginner Spray Gun
Use this list when you compare models. Each item connects back to a section above.
- Gravity feed cup with a capacity near 600 ml.
- HVLP or LVLP design that matches your compressor airflow.
- Fluid tip near 1.3 to 1.4 mm, with extra sets for detail work or primer.
- Separate fluid and fan knobs, plus a way to read pressure at the inlet.
- Stainless steel needle and nozzle for easier cleaning.
- Cup with a wide opening and a lid vent that stays clear.
- Comfortable grip and balanced weight for steady passes.
- Available spare parts such as nozzles, needles, seals and air caps.
Compare the compressor you own with the airflow the gun asks for first. A good gun on an undersized compressor sprays poorly, while a modest gun on a well matched compressor can give a smooth finish.
Spray Gun FAQ
Q1. What is the difference between HVLP and LVLP spray guns?
HVLP guns use a large volume of air at low cap pressure, while LVLP guns use less air volume at similar low pressure. LVLP models suit smaller compressors, and HVLP models often produce a wider fan.
Q2. What is the difference between an air spray gun and an airless spray gun?
An air spray gun uses compressed air to break paint into droplets. An airless gun uses a pump to force paint through a small tip at high pressure, which suits large surfaces such as walls and fences.
Q3. What is an automatic spray gun used for?
An automatic spray gun is mounted on a machine or robot arm and triggered by a controller. It is used in production lines where the same part is coated many times with the same pattern.
Q4. Why is my spray gun spitting instead of spraying evenly?
Common causes include a loose nozzle, dried paint on the needle, a blocked cup vent, unstrained paint or a cup that is almost empty. Check these items first before changing the pressure.
Q5. Why is my spray gun not spraying paint?
The fluid knob may be closed, the nozzle may be clogged, or the paint may be too thick for the tip size. Open the knob, clean the nozzle and thin the paint according to the data sheet.
Q6. How often should a spray gun be cleaned?
Clean it after every use. Paint that dries inside the gun is hard to remove and can damage the needle and nozzle seat, so a short rinse and wipe at the end of each session protects the parts.
Q7. What causes an uneven spray pattern?
Dried paint in the air cap horn holes, a partly blocked tip, mismatched parts and incorrect pressure are the usual causes. Cleaning the cap and nozzle resolves most cases.
Q8. What tip size should a beginner start with?
A 1.3 to 1.4 mm tip is a common starting point for base coats, clear coats and many general coatings. Use a smaller tip for detail work and a larger tip for primer.
Q9. What air pressure should I use with a new spray gun?
Follow the number on the gun data plate, measured at the inlet with the trigger fully pulled. Published specifications for gravity guns often fall between about 15 and 30 psi.
Q10. Can one spray gun handle both paint and stain?
A gun with interchangeable tip sets can handle several coatings. Thin materials such as stain work with smaller tips, and thicker paints need larger ones. Clean the gun well when switching materials.
Q11. Why is paint leaking from the front of my spray gun?
Debris or hardened paint on the needle tip and seat can keep the needle from closing fully. Clean both parts and replace the needle and nozzle together if they show wear.
Q12. Does a spray gun need a large compressor?
It depends on the gun. Compact and LVLP guns may run on a smaller unit, while full size HVLP guns ask for more airflow. Compare the gun cfm rating with the output of your compressor.